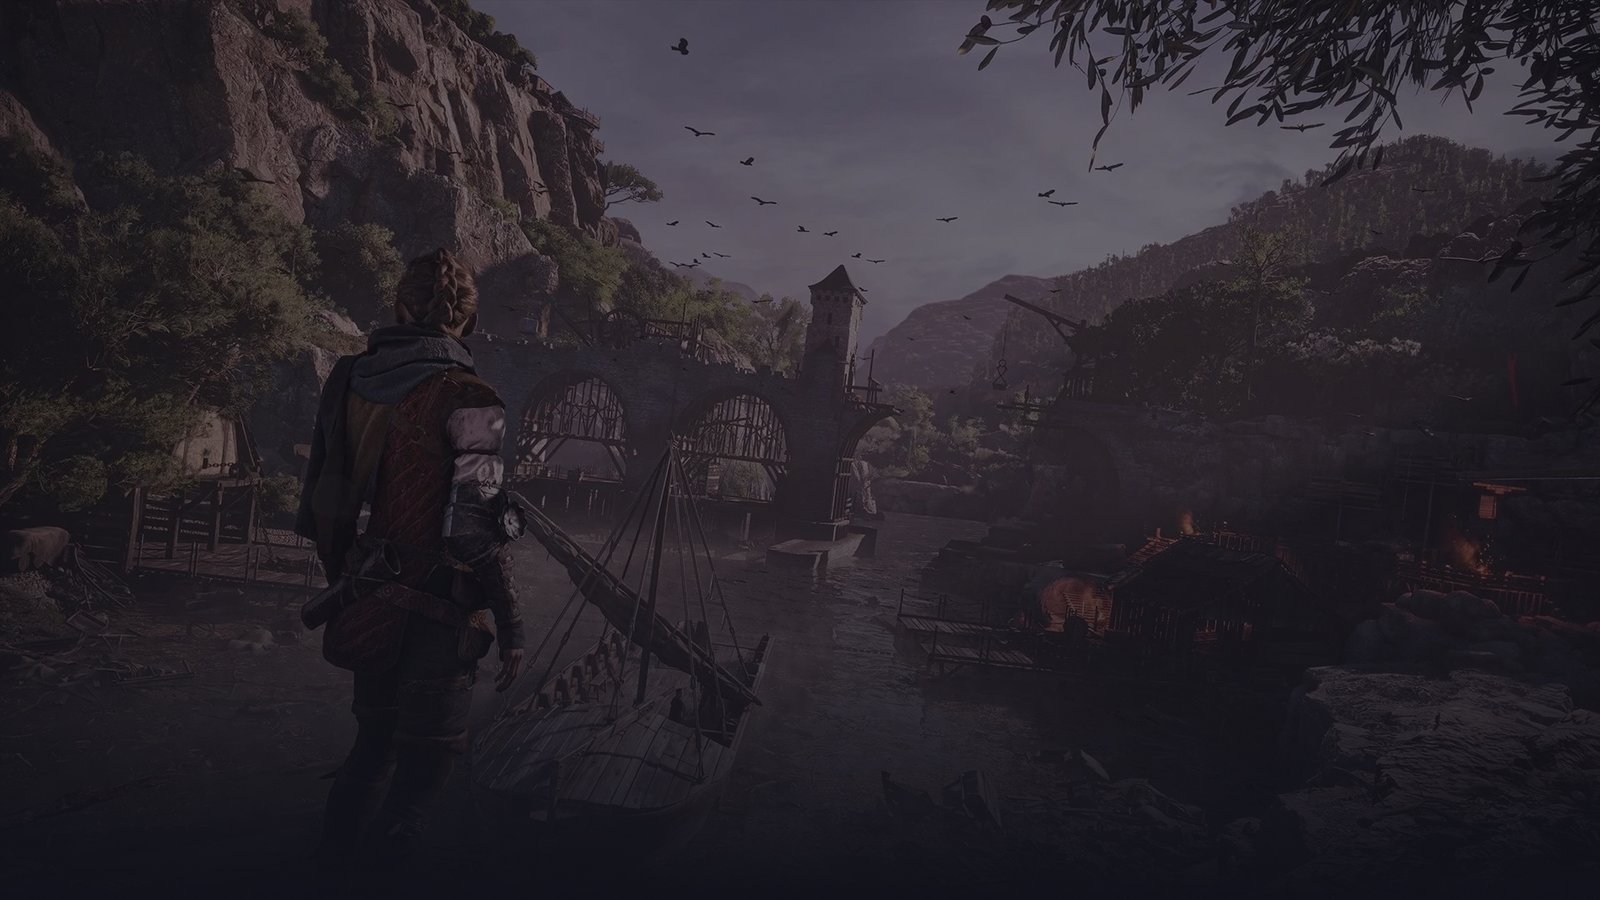
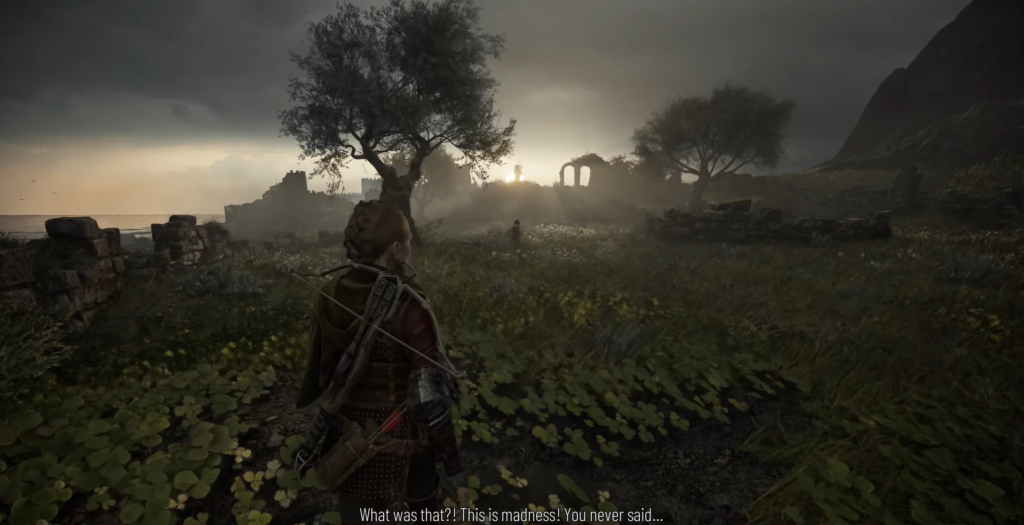
After completing the previous chapter’s events, you’ll find yourself back in the familiar open valley. Cross the bridge and take a right turn, looking for a narrow gap in the rock formation that allows passage through.
Locating the Windmills
Your map will guide you toward the windmills situated beyond the arches past the theater area. Navigate beneath the hanging kites and proceed through the flower-adorned archways.
The Ruined Tower
Ascend the hillside and pass by the barn structure. The ruins you’re seeking are positioned to the left of the windmills. The main door won’t open, so circle around the tower’s perimeter and enter through an accessible window instead.
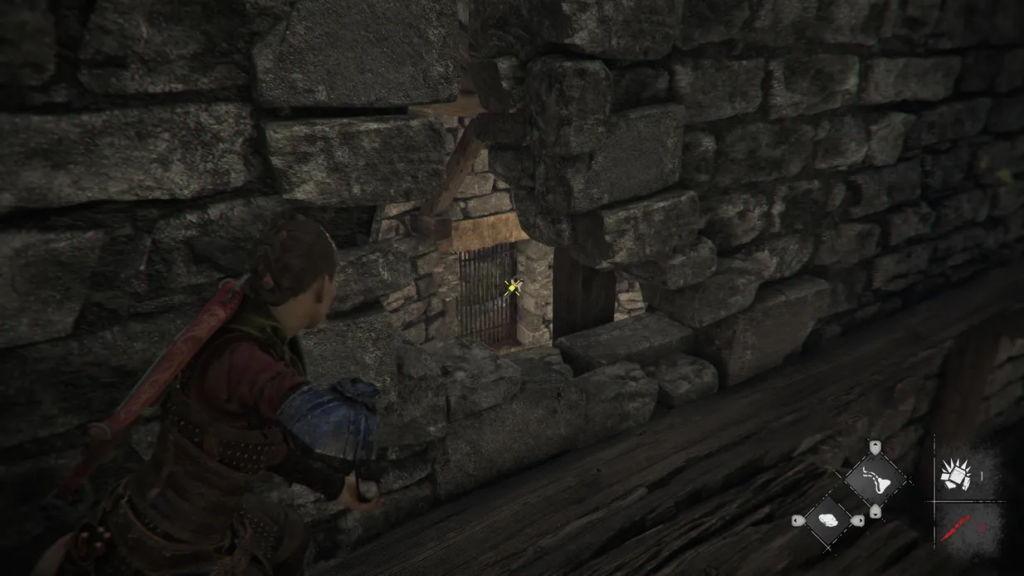
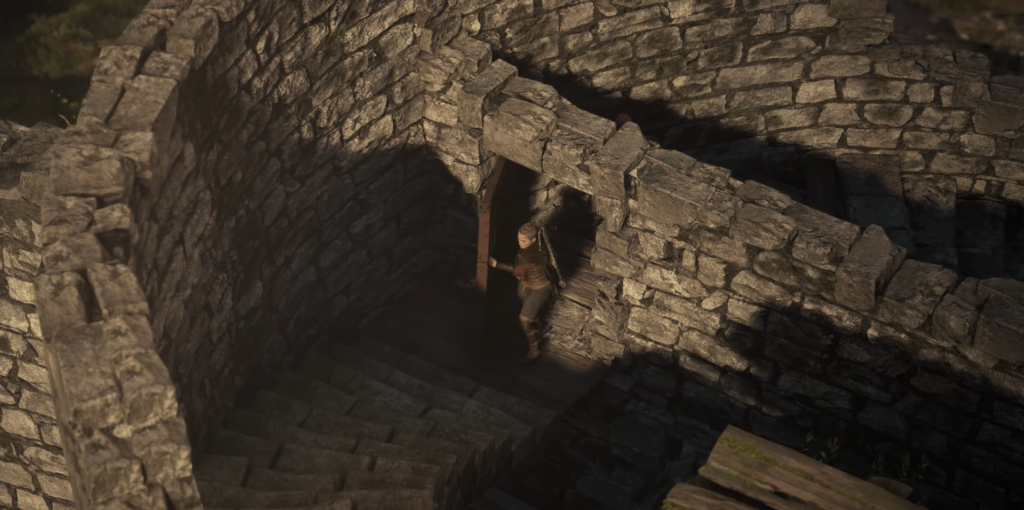
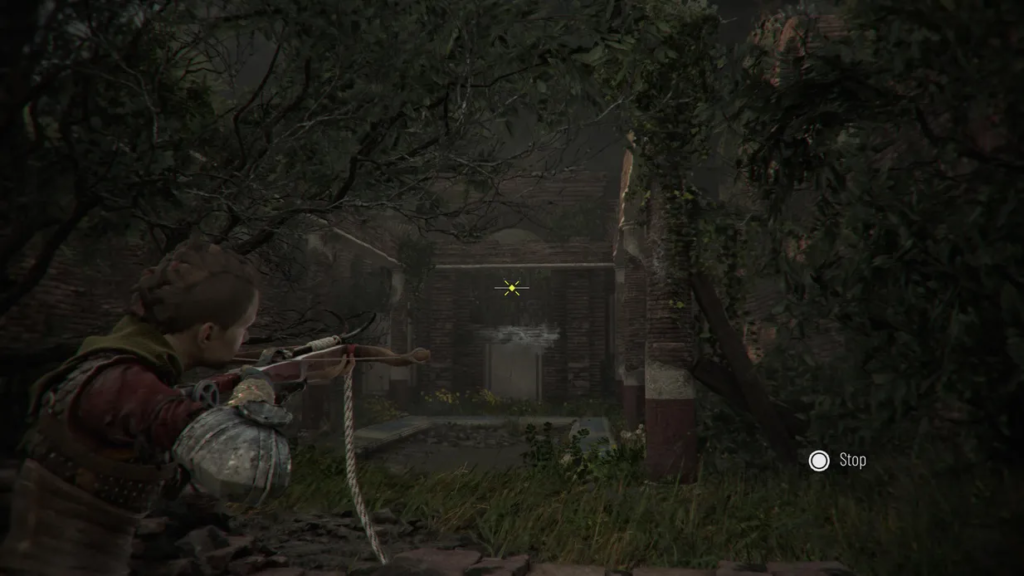
Make your way up the staircase until you reach a crossing point. Through an opening in the stone, aim at the lock securing the main entrance. Return to ground level and climb to the tower’s summit to trigger a cutscene revealing your next destination.
Crossing to the Fort
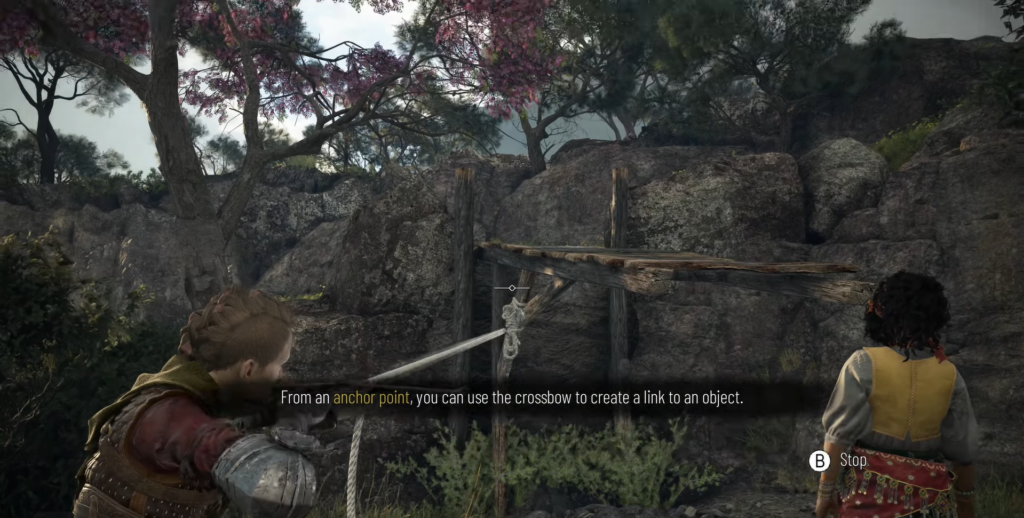
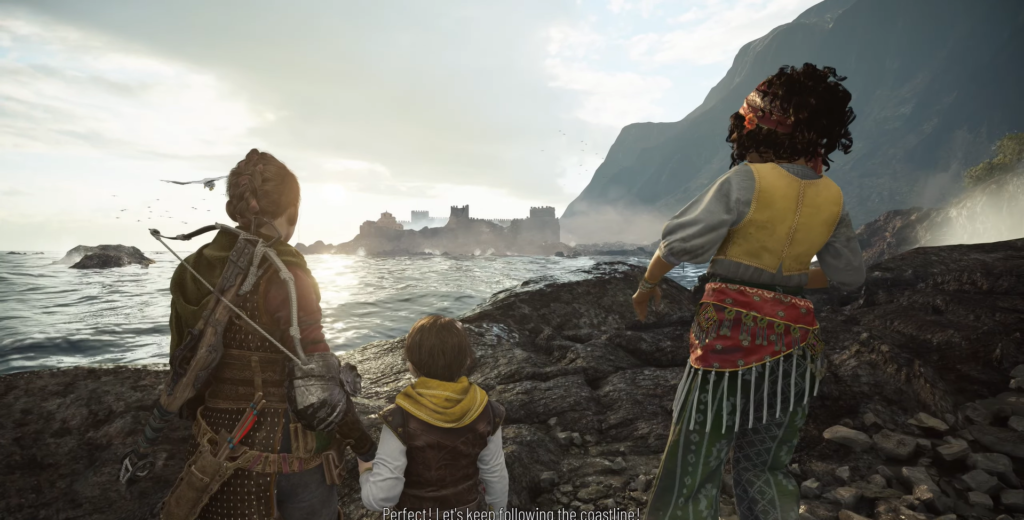
Once you regain control, follow the pathway leading to the damaged bridge. Drop down and use your crossbow to shoot the rope mechanism, fully lowering the bridge structure. Cross over and descend toward the beach area, turning right to spot the fort ahead.
Discovering the Slavers
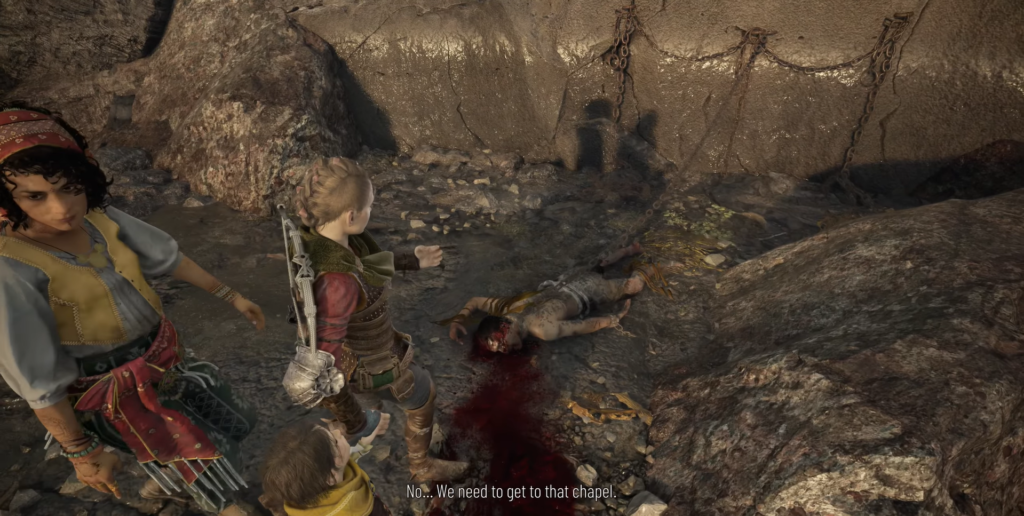
Continue along the shoreline until you encounter deceased bodies. One corpse will be bound in chains, while another lies fallen from the cliffs above. This discovery reveals the presence of slavers inhabiting this location.
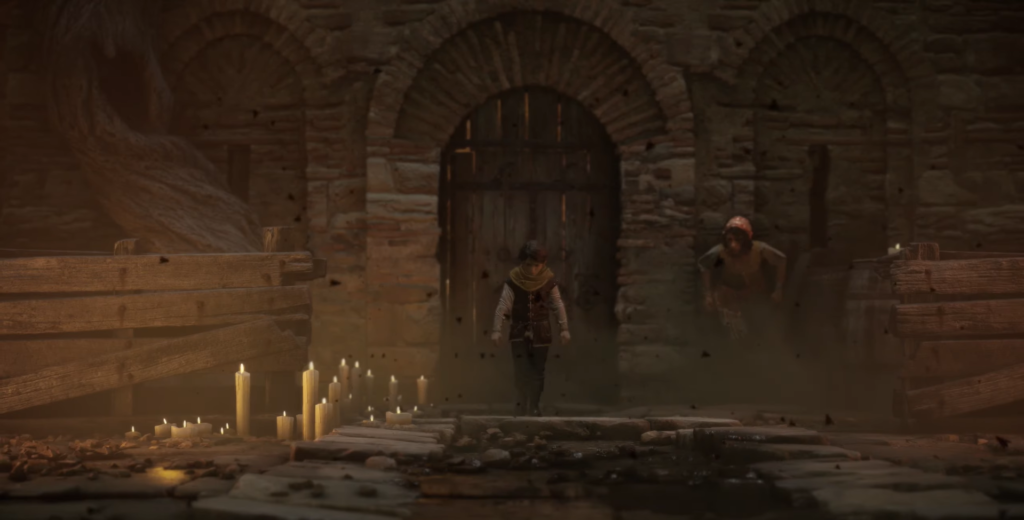
Infiltrating the Compound
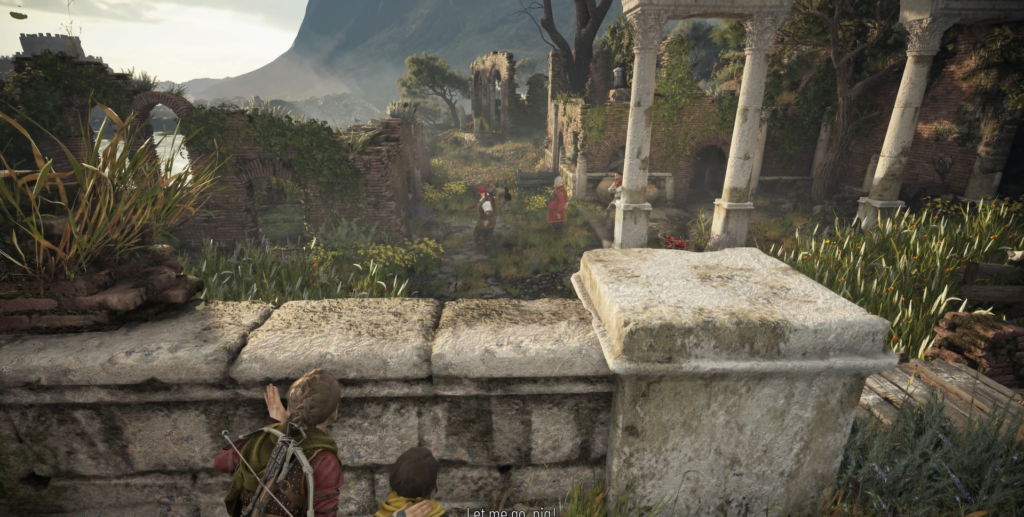
Drop down and utilize the tall grass for concealment as you advance. Your objective is reaching the central building to find a vantage point for shooting the debris blocking the door ahead.
Important: Once inside the ruins, locate the wall opening on your right and ascend to the upper level.
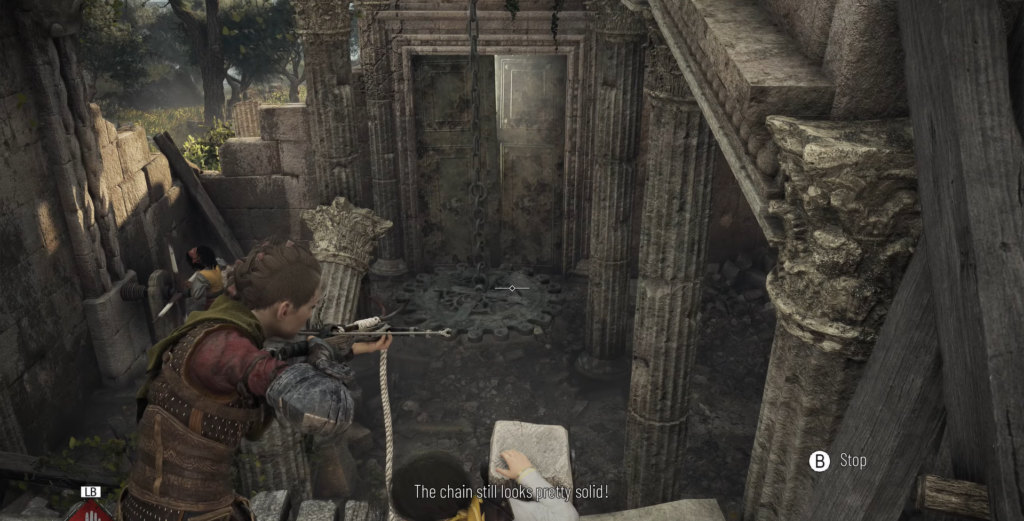
Using the Chandelier Mechanism
Direct Sophia to operate the crank, raising the chandelier upward. Employ your new tool to shoot the chandelier and pull it toward you, then release it to demolish the blocked door.
Collectible Alert: A raven feather can be found nearby. After using the chandelier to breach the chapel door, pass through and turn left. Follow this route to the cliff’s edge to collect the raven feather.
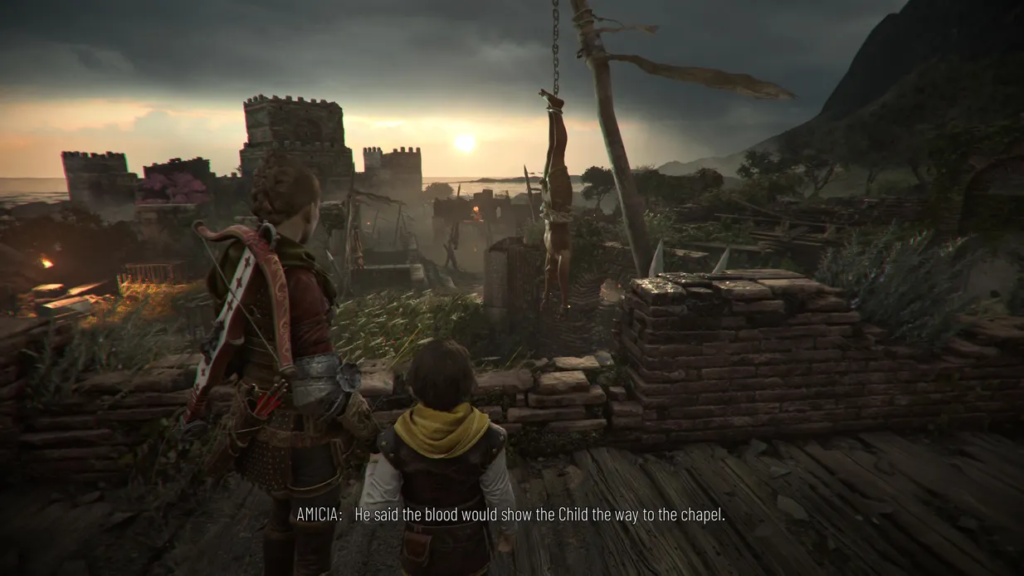
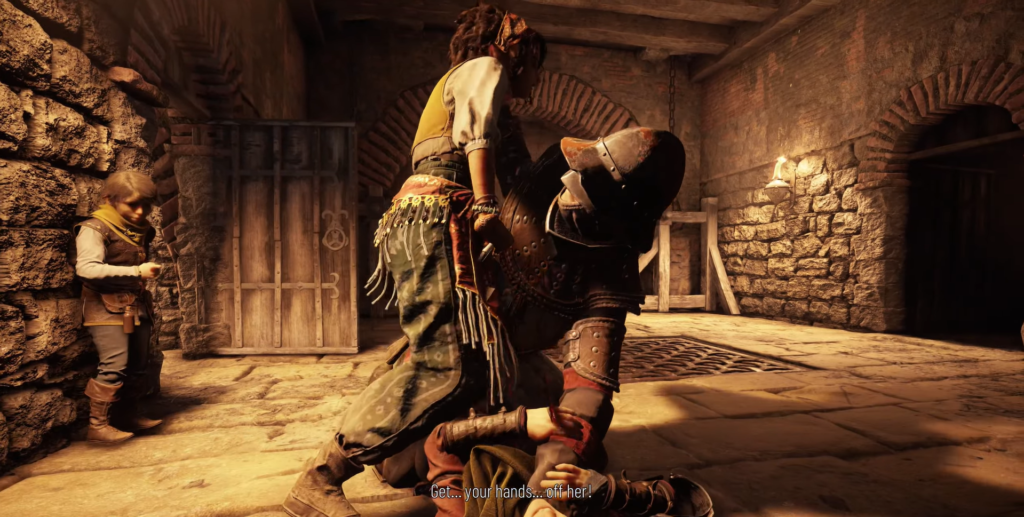
The Slaver Revelation
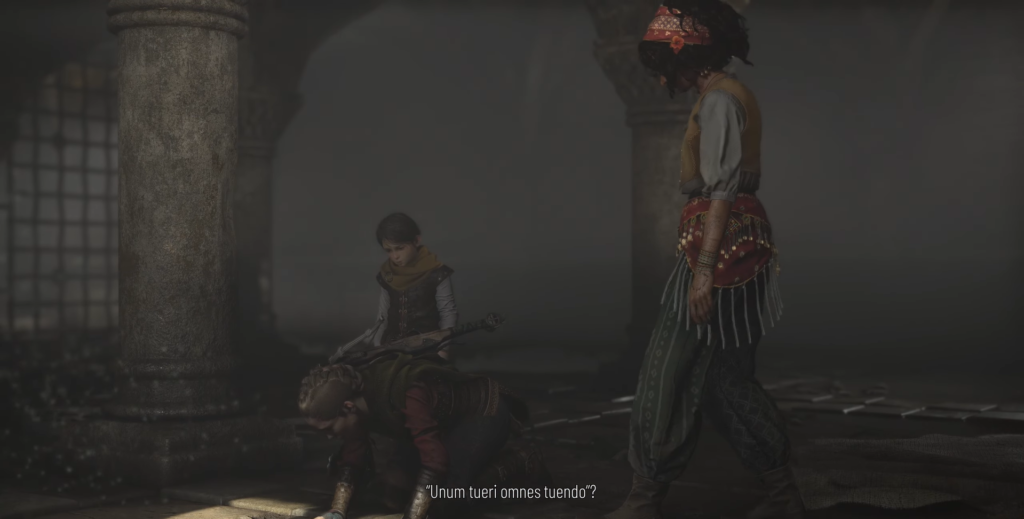
Return to the main trail and climb higher to view a cutscene that provides crucial information about the slavers’ identity. Chase after Hugo and interact with him at the precipice to unlock a memory.
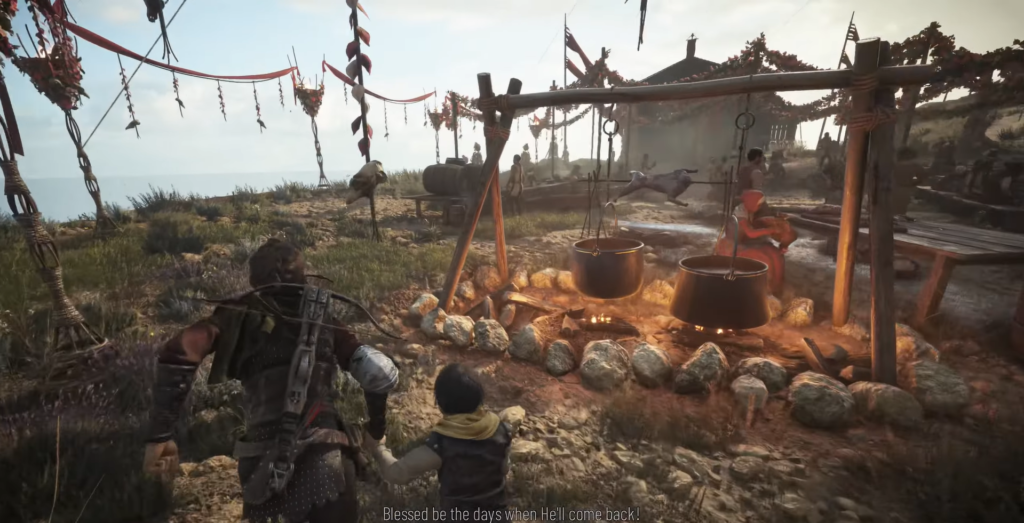
The Blood-Stained Tree
Following your reunion with Hugo and the cutscene where he explains his rat-controlling abilities to Sophia, you’ll arrive in a ruined structure with distinctive blue floor tiles.
Before proceeding forward, look left for a mechanism compatible with your crossbow. Shoot the weakened bricks on the opposite side and pull them down. Upon climbing up, search near the blood-stained tree wrapped in chains for a rag doll. Interact with it to obtain another memory.
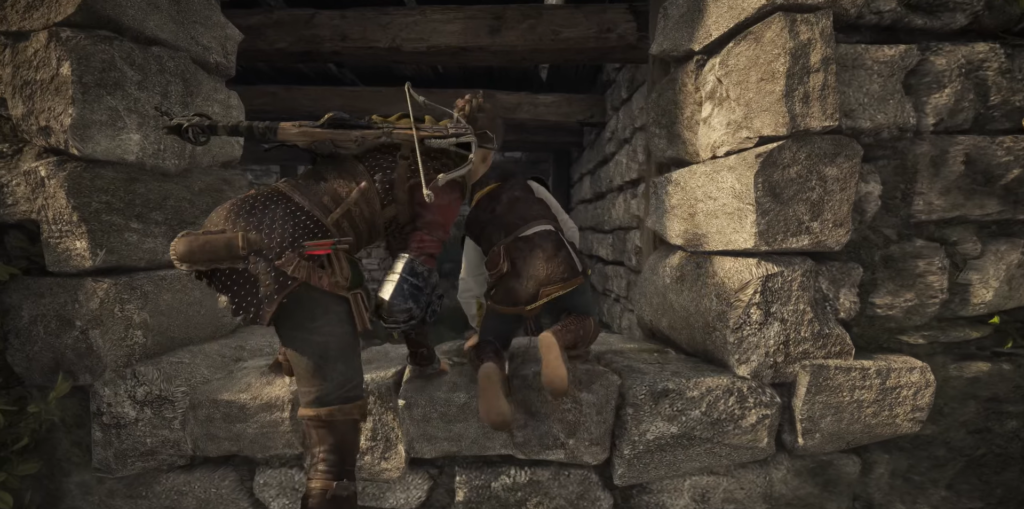
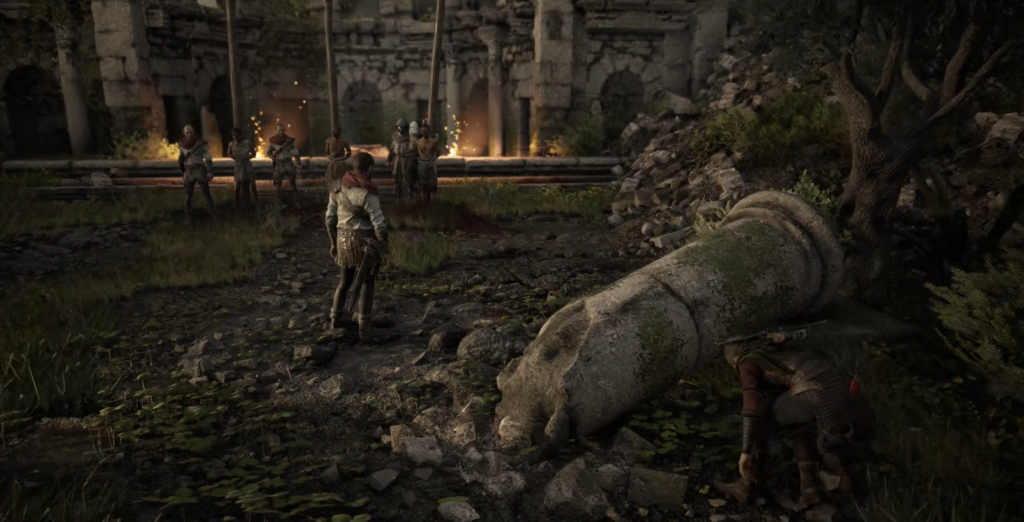
The Enemy-Filled Courtyard
Exit the ruins through the alternate passage into an expansive area crowded with hostile forces. Your goal is reaching the tower at the area’s far end.
Stealth Strategy:
- Eliminate unarmored enemies first
- Stay within tall grass coverage
- Use all available distraction methods
- Utilize Sophia’s prism ability
- Take the left path, weaving between structures and vegetation
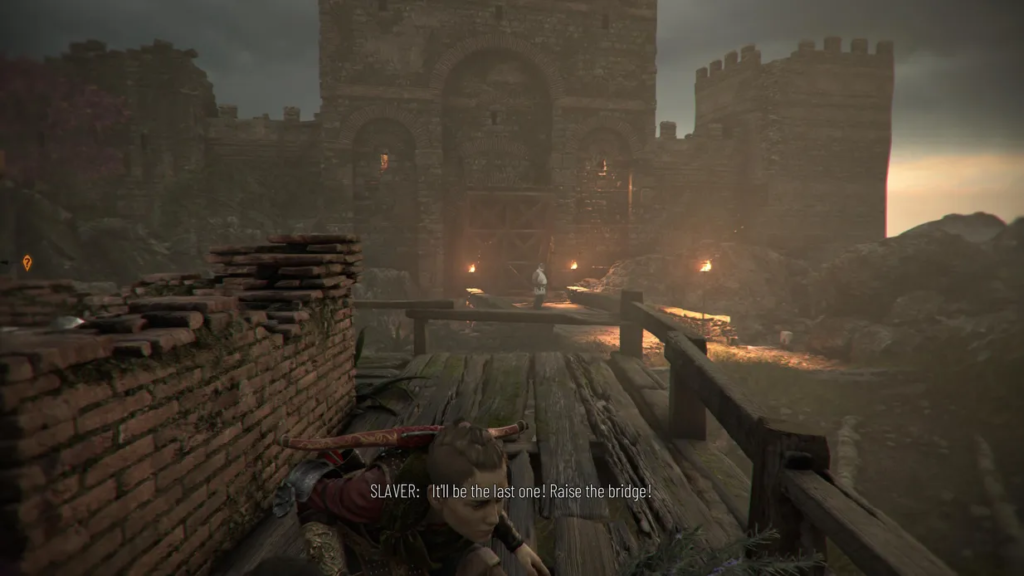
Lowering the Drawbridge
Upon reaching the raised drawbridge, descend into the moat and squeeze through the rock opening on the left side. Before emerging into the open, eliminate the guard positioned on the bridge.
The Castle Ambush
Entering the castle triggers an ambush sequence. Sophia will dispatch a guard while raising the drawbridge, giving you time to jump into the cart. Rats will soon appear.

Secret Chest Location: While riding the slave-pushed cart inside the fort, rats will emerge near you. Sophia will activate her prism, creating light to repel them. Look toward the right corner to spot a wall opening with a secret chest on the platform above. Use the prism’s new ability to reach it by creating light and crossing the gap.
The Castle Courtyard
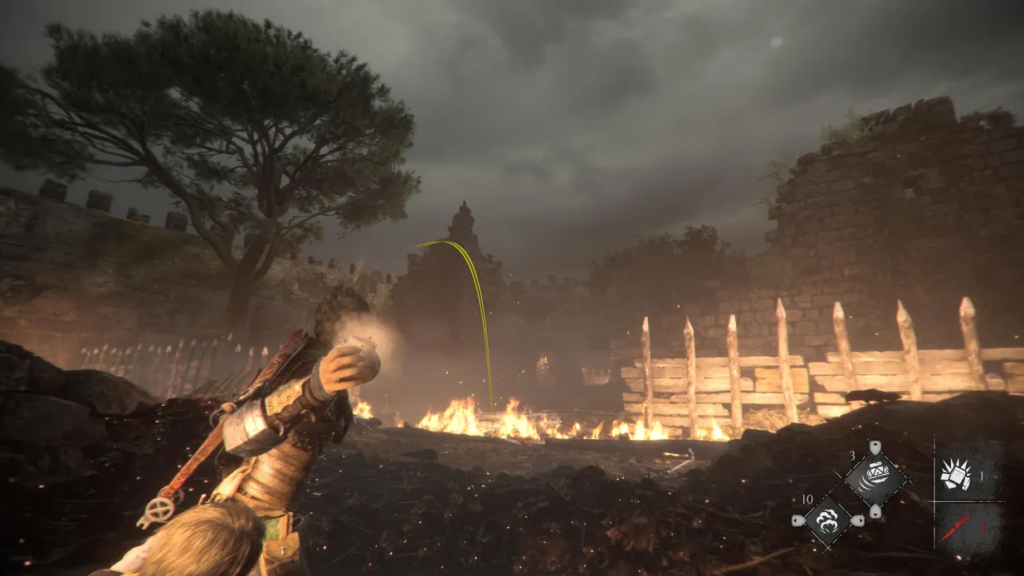
Return to the courtyard and head toward the castle using the prism ability in conjunction with the flames ahead. Extinguish the fire blocking your path, then ignite a stick and reach the staircase on the opposite side.
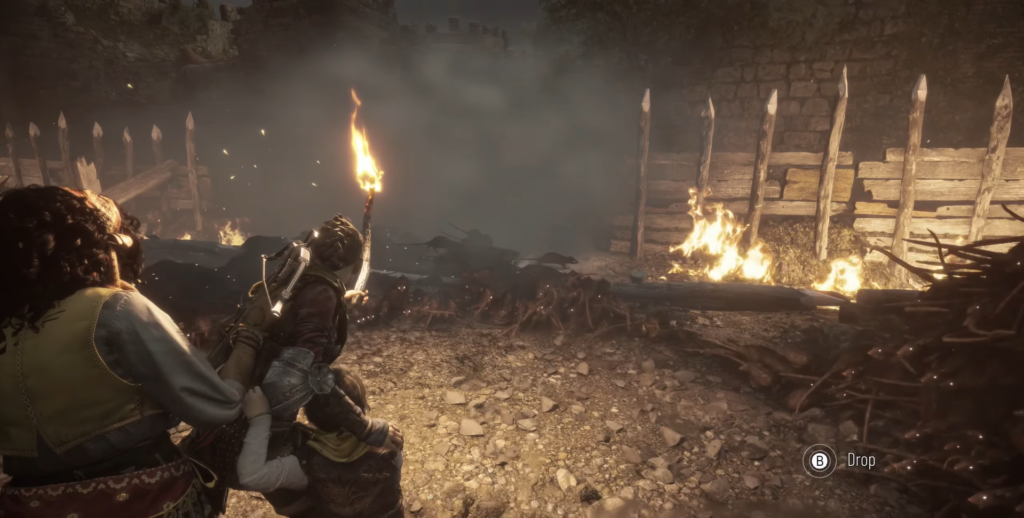
In another courtyard section, follow the left pathway. You can eliminate one enemy with a sling shot and incinerate another using a barrel. Extinguish the ground floor fire and use a nearby stick.
Opening the Gate
To open the forward gate, operate the crank on the floor above. After raising the gate, enemies will appear—eliminate them easily by extinguishing the torches they carry. Descend and pass through the opened gate.
The Chapel Finale
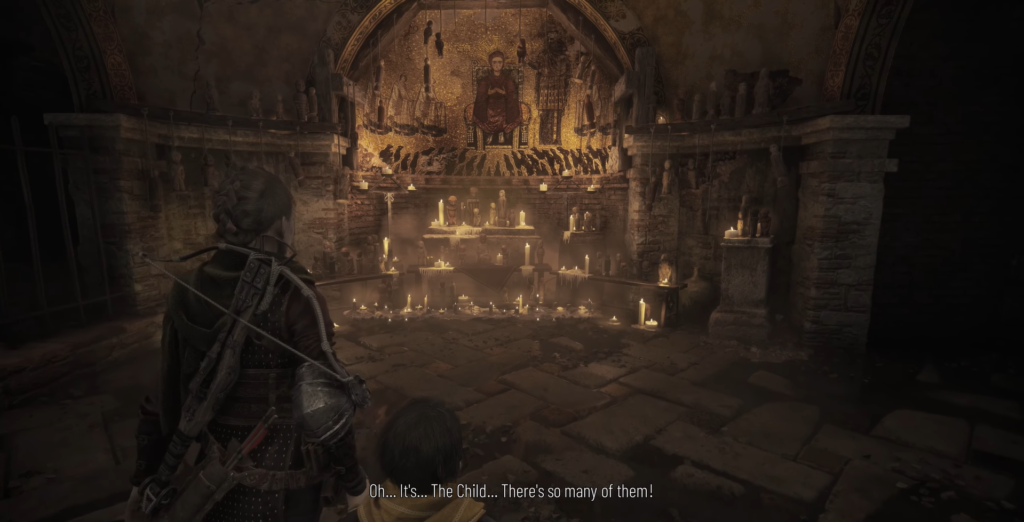
Enter the chapel and proceed downward. Interact with the chain at the crypt’s rear section to trigger a cutscene. Upon exiting the chapel, Amicia will lose composure, forcing you into another combat sequence. Search the vicinity for crossbow bolts.
Comments (0)
Sign In / Sign Up
Sign in with your Google account to leave a comment. It's fast, easy, and secure.
No comments yet
Be the first one to share your thoughts!