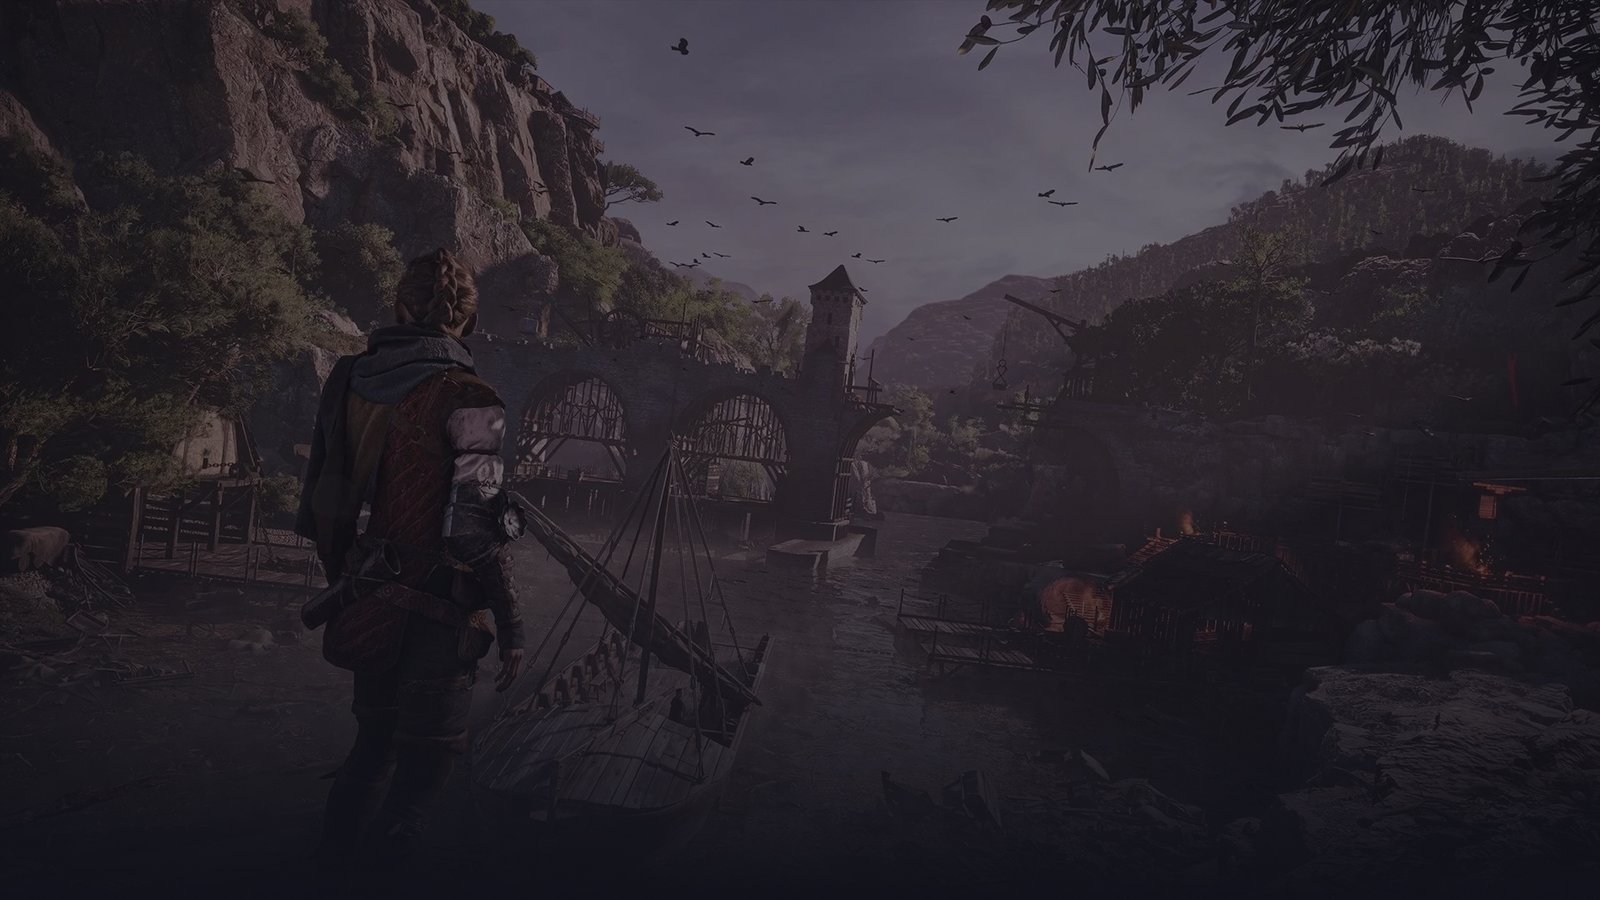

Beginning the Escape
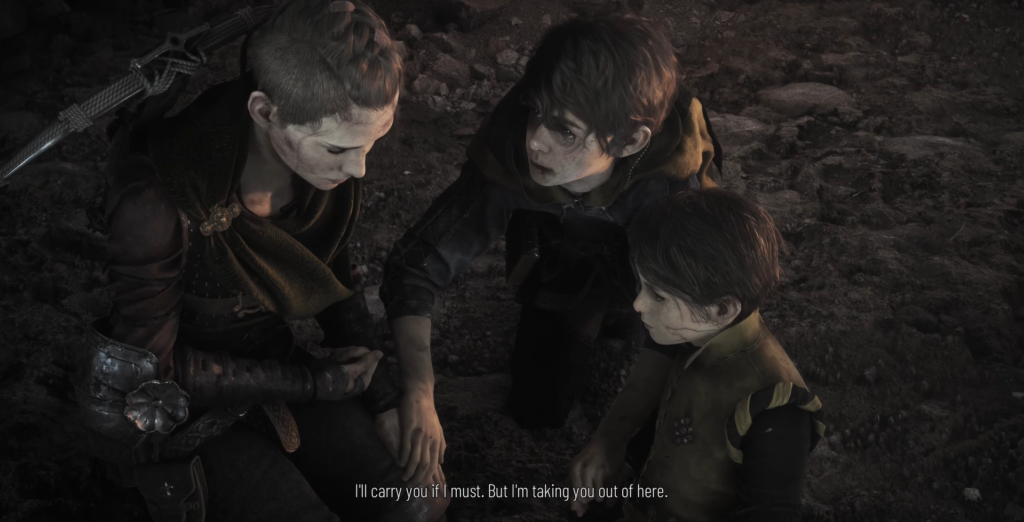
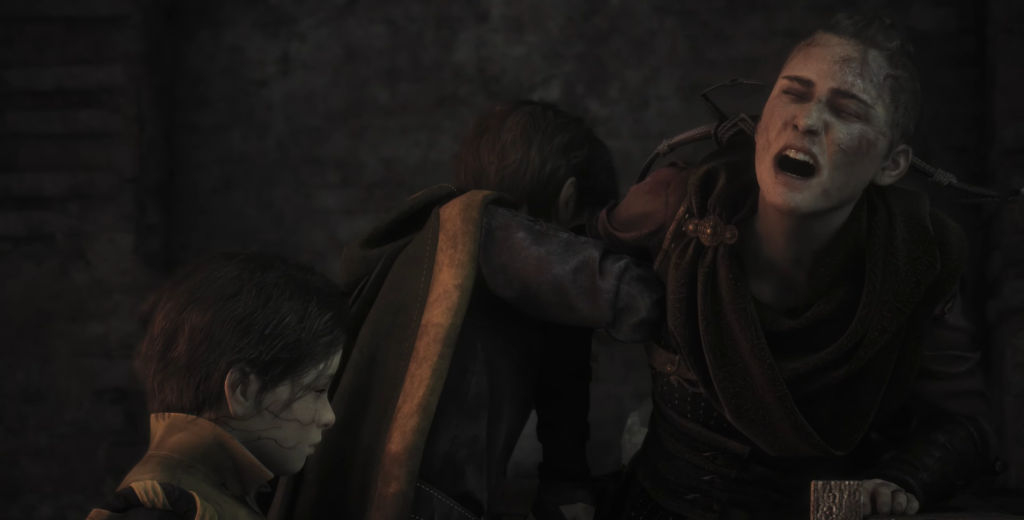
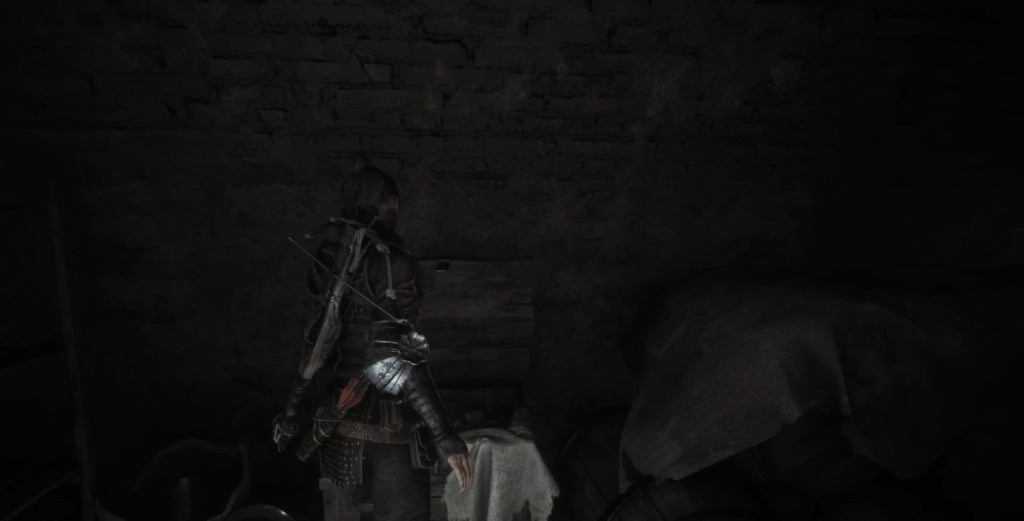
After Hugo wakes up in an unresponsive state and Amicia’s hope begins to fade, Lucas takes charge and guides the group forward. Following a brief scene where Lucas helps relocate Amicia’s shoulder, you’ll climb stairs leading to a chamber featuring light beams and central pillars. On the right side, you’ll discover an accessible room containing a large chest filled with a Tool, Pieces, and various supplies.
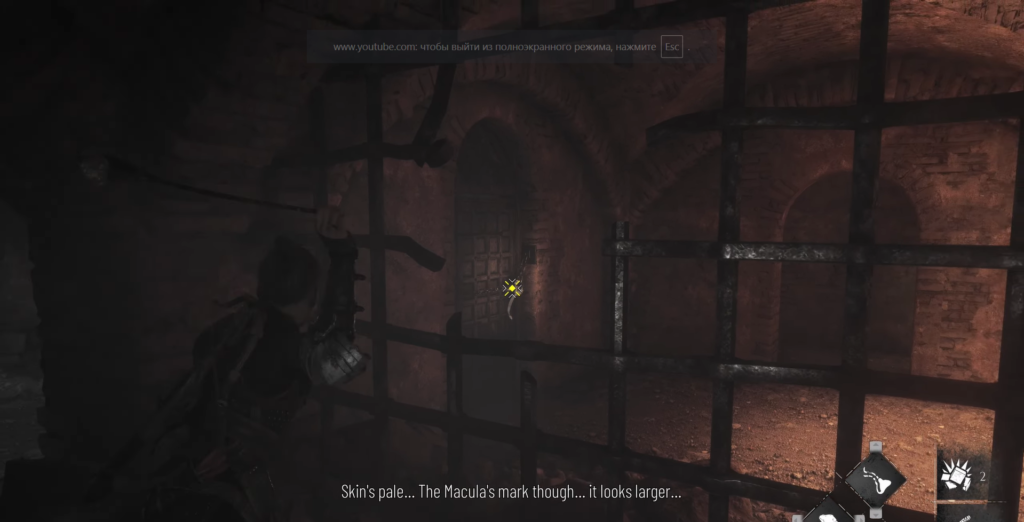
Move forward past the Workbench positioned on your right until you reach a more spacious open chamber.
Glance right and peer through the gate opening—you can utilize your Sling to break the chain securing the door.
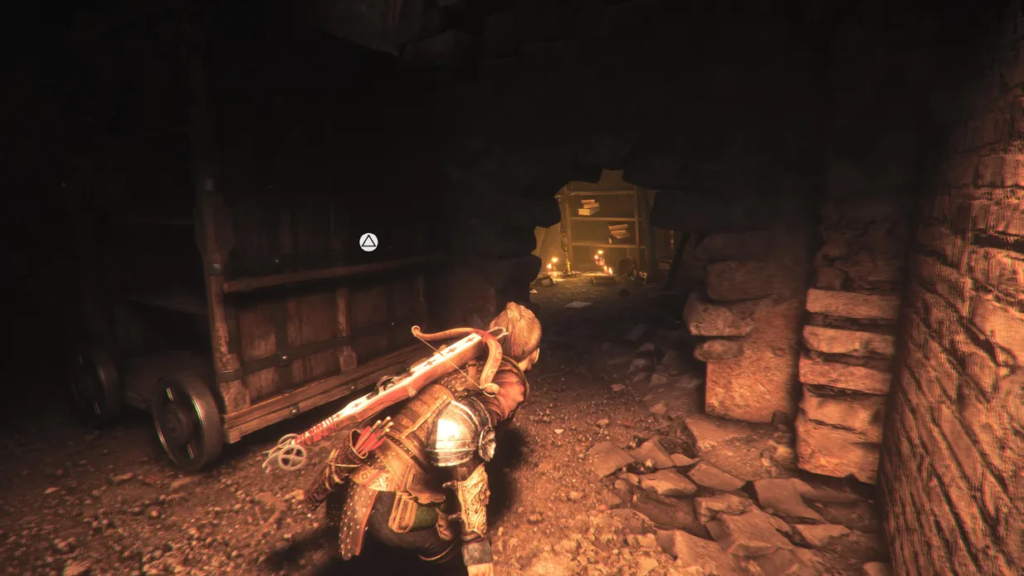
Circle around to open the door, then drag the moveable bookshelf backward. Exit through the door and climb over into the section of corridor you’ve just made accessible.
Collecting “A mess” Souvenir
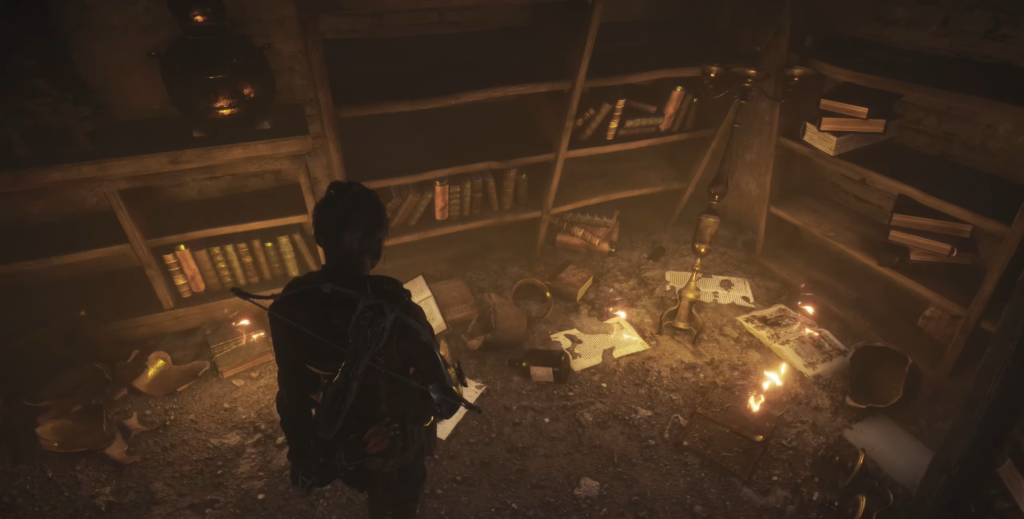
Turn right immediately after entering to spot another moveable bookshelf. Push it into the room’s far corner, then duck through the opening it previously blocked. Inside this hidden space, interact with the table to obtain the game’s final Souvenir: A mess.
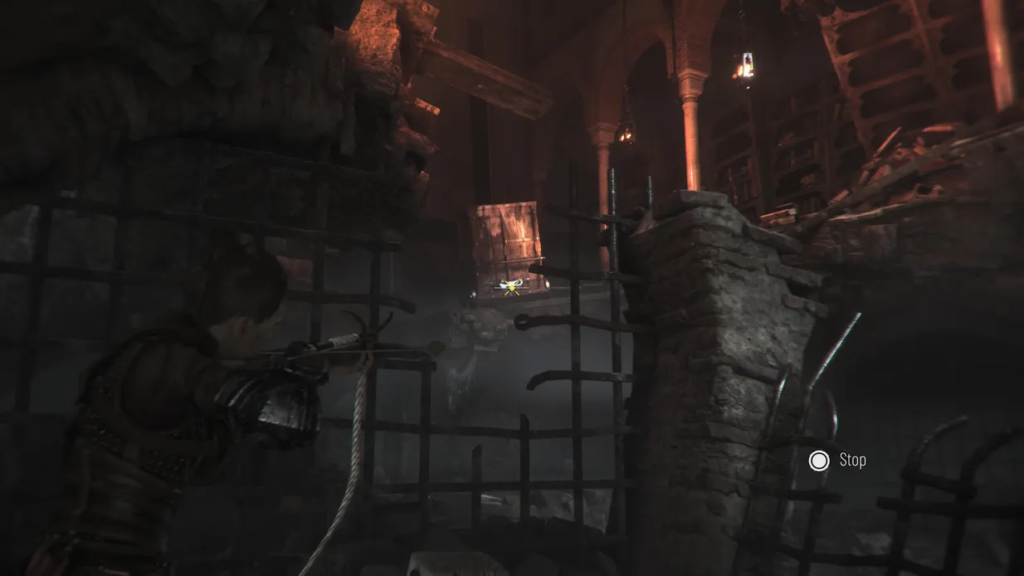
Proceed to the anchor point and use it to bring down the bookshelf from the upper floor across the chamber, then rejoin Lucas and Hugo.
The Rat Nest Discovery
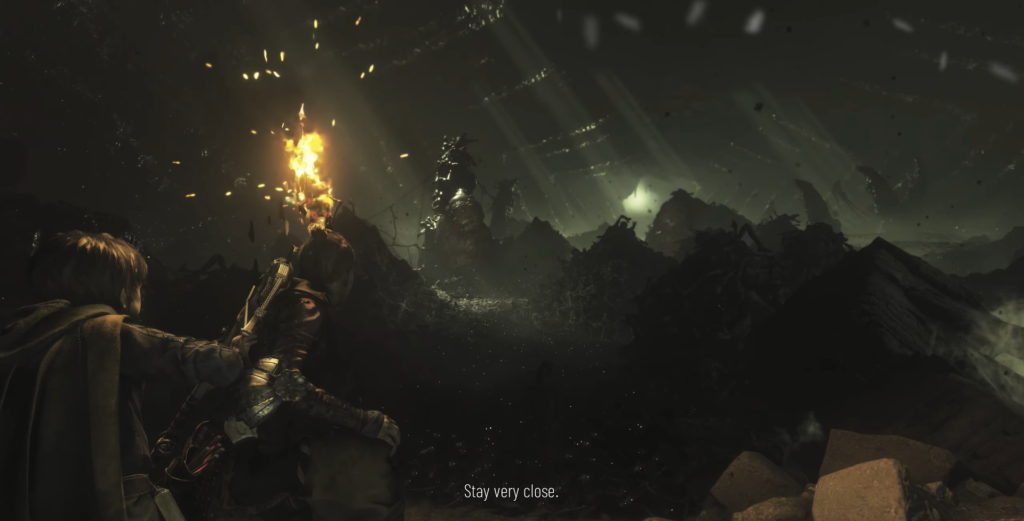
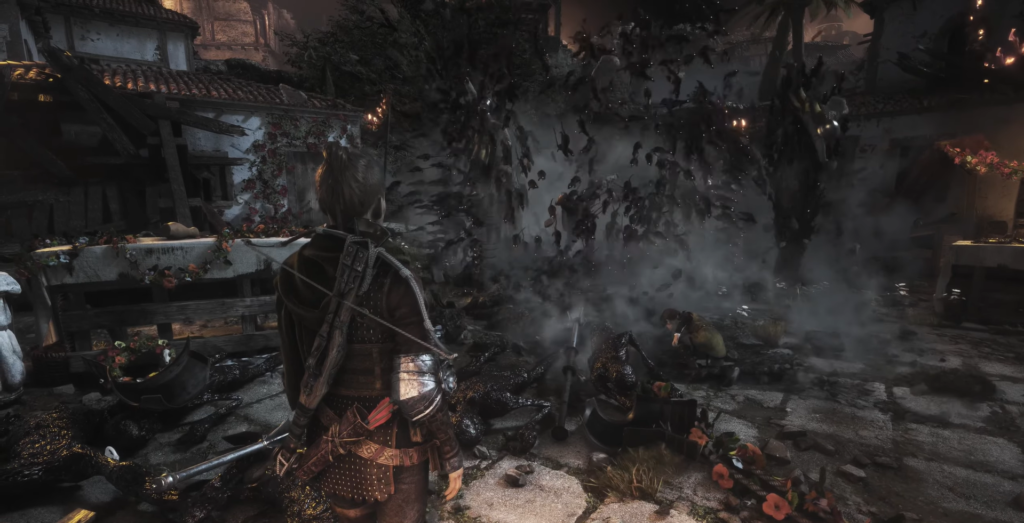
Try pulling the bookshelf that’s now lodged in the wall down the incline. This triggers a cinematic sequence revealing an enormous rat nest, with the Macula speaking through Hugo.
The nest contains explosive rat sacs that release torch-extinguishing fumes when you approach—avoid them at all costs!
Take the torch from the wall sconce on your left, then navigate the straightforward path through the nest. Watch out for rat sacs that burst open if you venture too close, creating circular zones of fumes that rapidly snuff out your torch. While the first sac you encounter will inevitably explode, you can successfully avoid the others along your route.
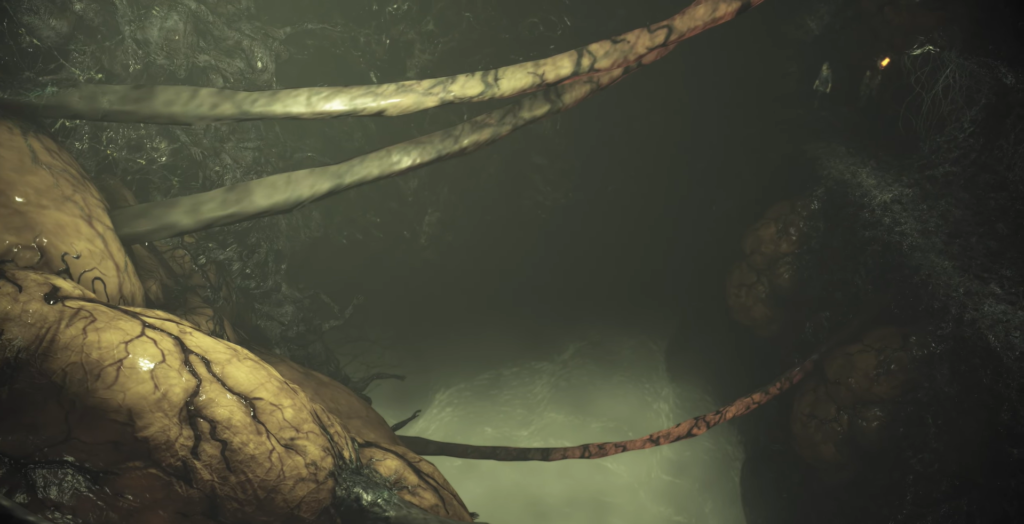
At the chamber’s opposite end, you’ll enter a tunnel where you must turn right at a fork as exploding sacs block the left passage. Exiting the tunnel brings you face-to-face with a massive sac.

When you call for Hugo to follow, the enormous sac begins exploding, initiating a sprint sequence where you’ll run both toward and away from the camera perspective.
Consoling Hugo and Regaining Control
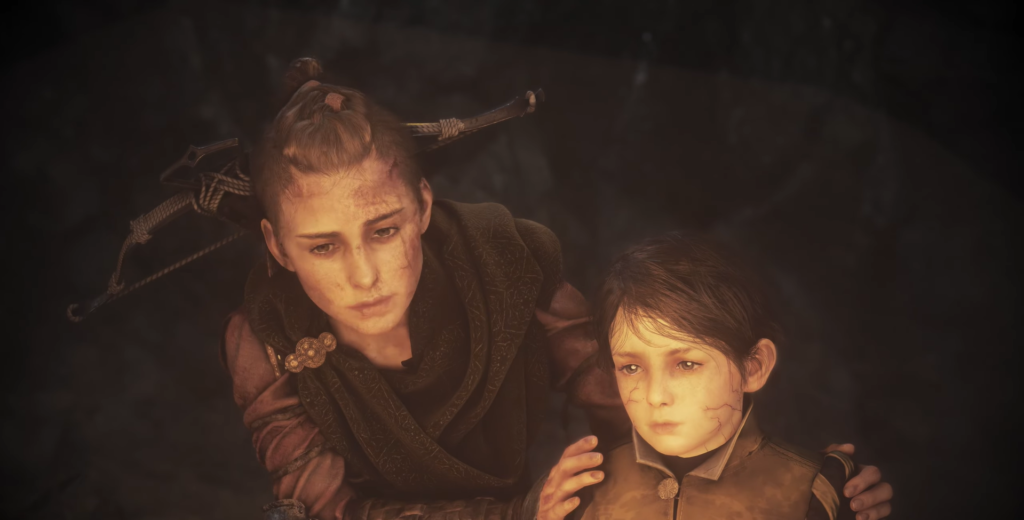
As you emerge from the nest into the open air, a cutscene shows Amicia comforting Hugo.
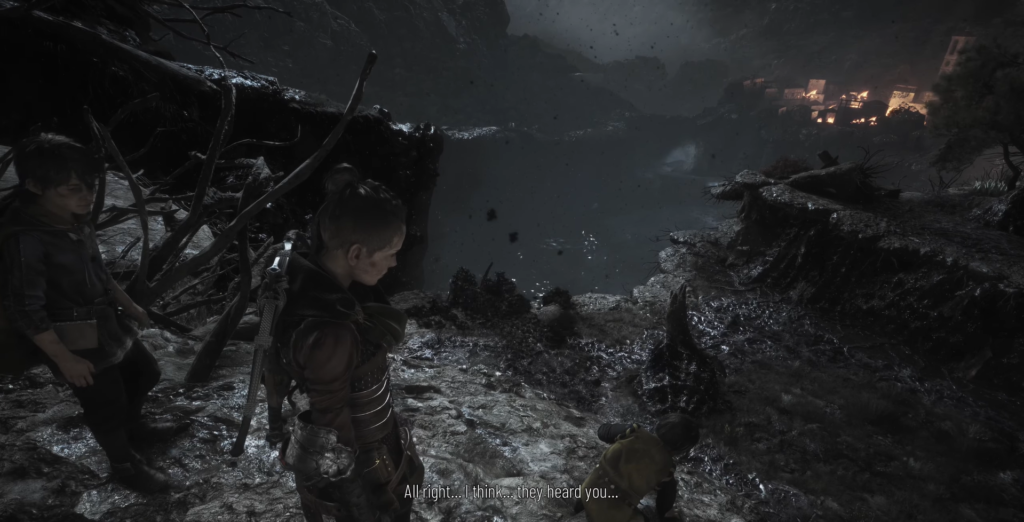
Once you regain control, climb up the hill and descend the opposite slope. Hugo will then command the rat swarm, directing it off the cliff into the sea below. Drop down and head right until you reach an area with patrolling soldiers.
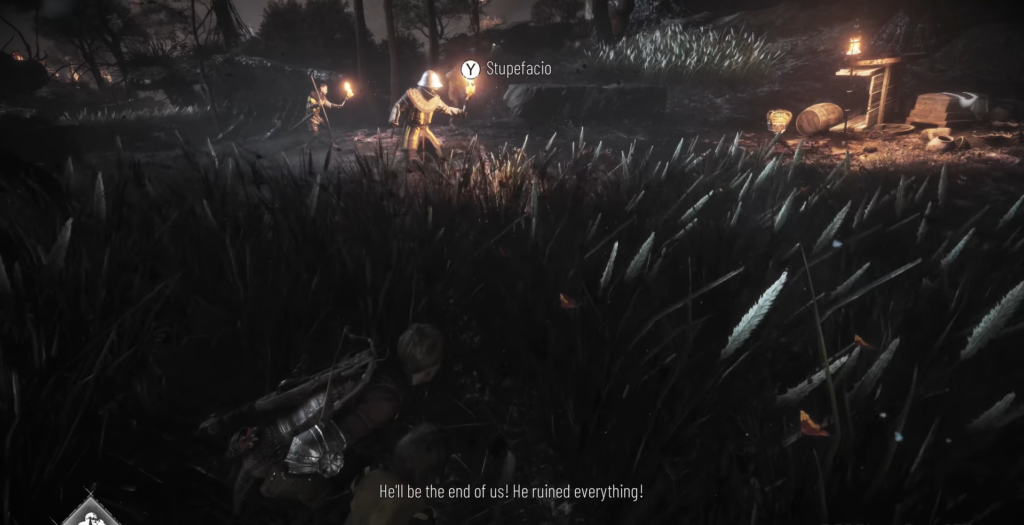
You have the freedom to either avoid or eliminate the soldiers, including the option to utilize nearby rat sacs combined with Hugo’s control abilities.
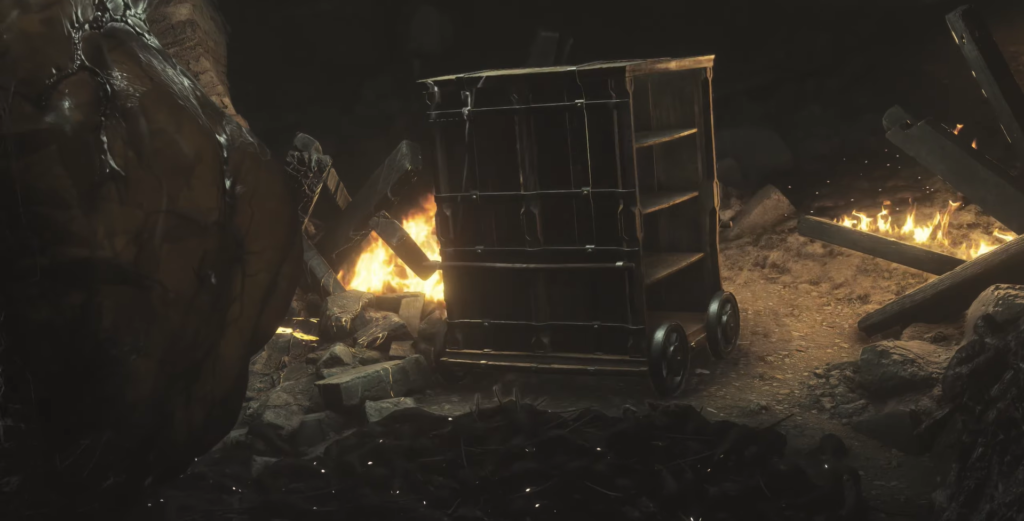
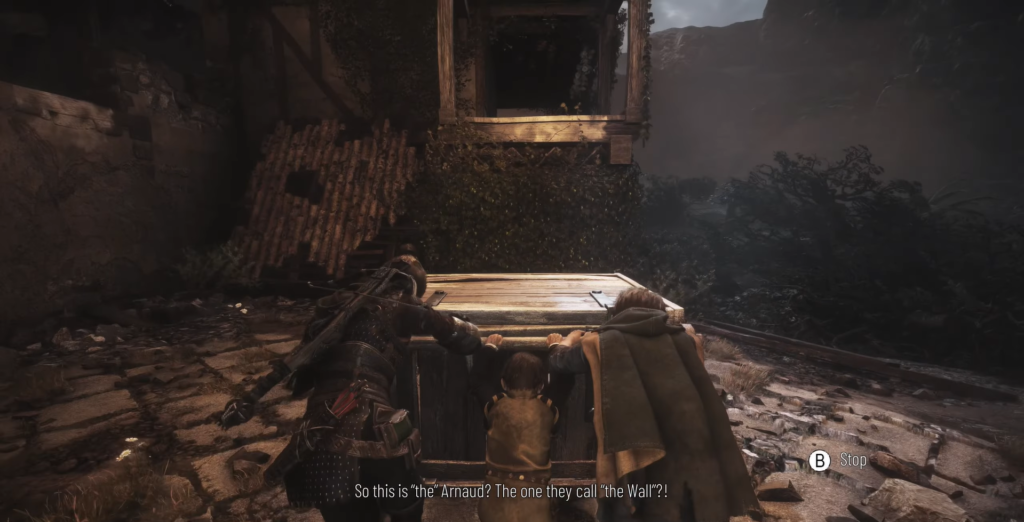
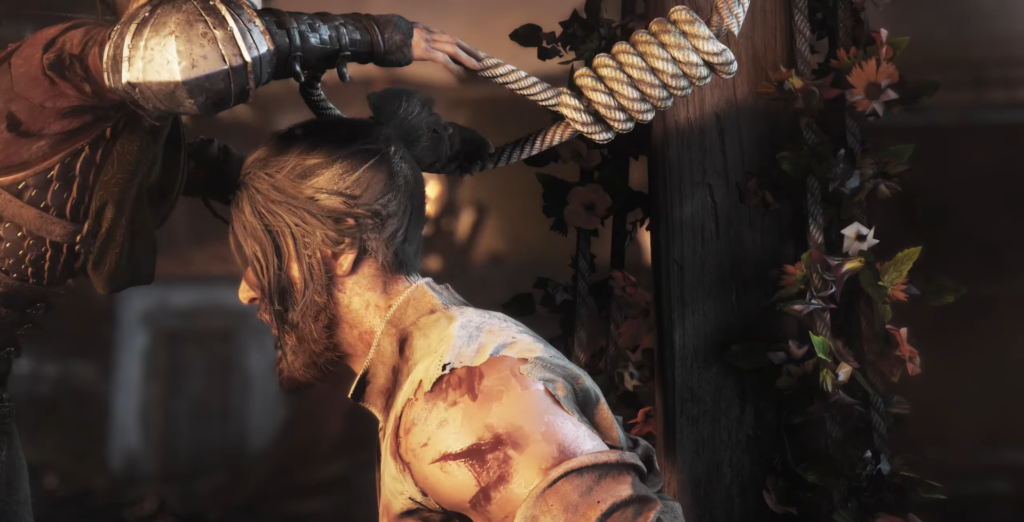
A cart sits inside a ruined building at this area’s end, held in place by a chain. Destroy it with your Sling, then climb the crate and proceed through the door ahead. A cutscene reveals that Arnaud is facing execution at the harbor near Sophia’s boat, prompting Hugo to beg for your help.
Navigating the Soldier-Filled Path
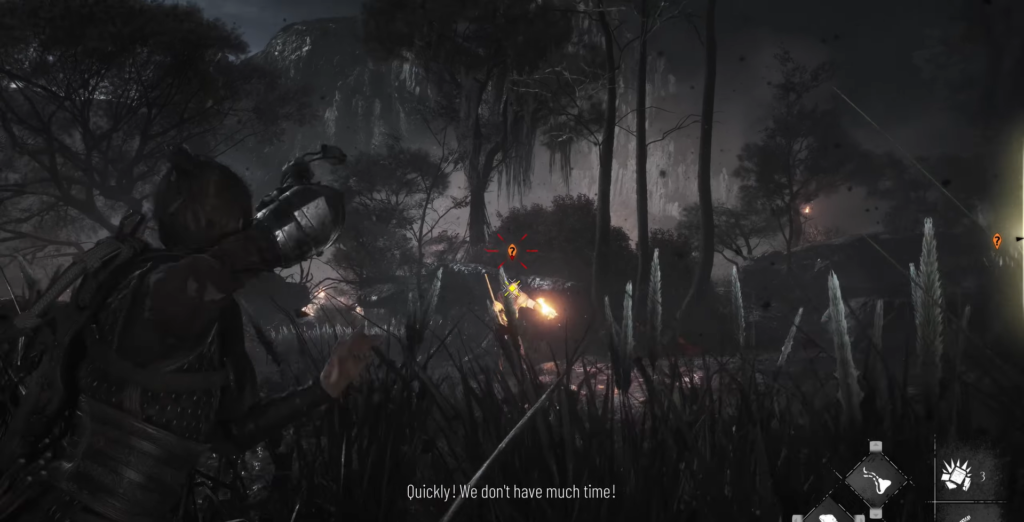
Drop into an extended section populated with patrolling soldiers. The lower passage between the house rows contains numerous rat sacs, so exercise caution if you choose to sneak through this route.
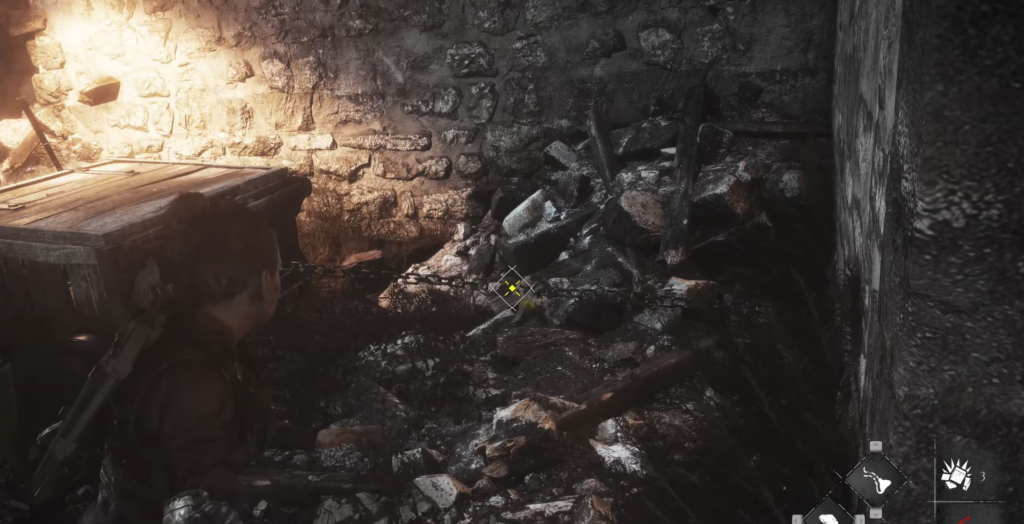
Continue down toward the church and enter the small white house to the church’s right (the belfry). Crawl beneath the debris to access the following area.
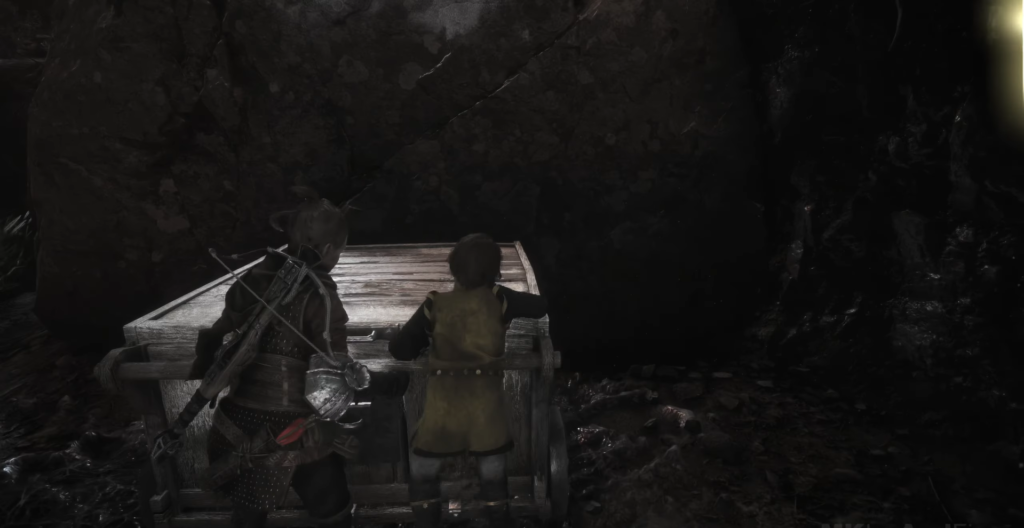
Drop down and vault through the window in the right corner into the building ahead, which houses a Workbench. Climb up on the left side and drop off at the opposite end. Follow the winding path, then grab the movable cart.
Finding the Greylag Goose Feather
Rather than pushing the cart straight ahead, steer it left to reach the climbing point on the building you just exited. On the upper floor, you’ll find the game’s final Feather for Hugo’s Collection: Greylag Goose.
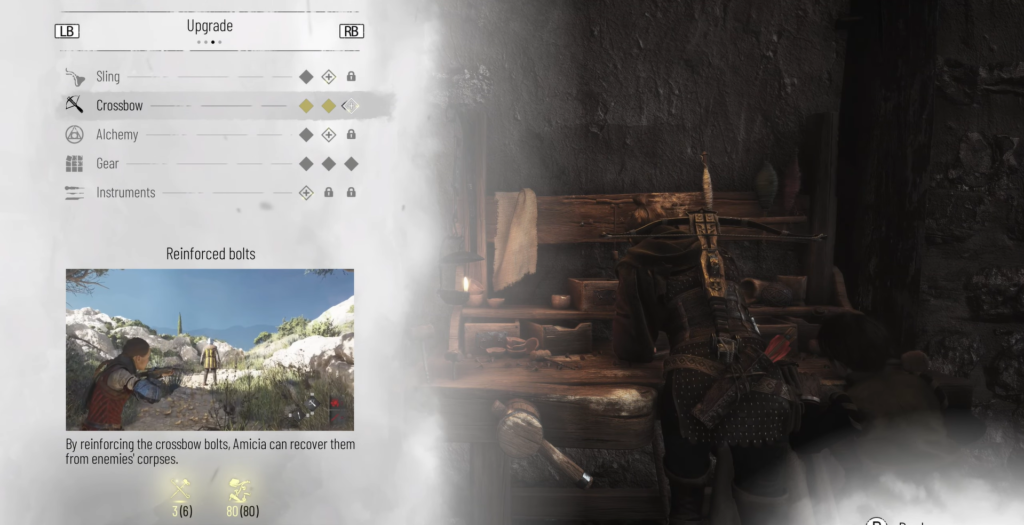
Open the right-side door to discover a locked Workbench containing a Tool and Pieces. Return to ground level and drag the cart to the alternative vaulting location behind you, then climb up.
The Final Confrontation
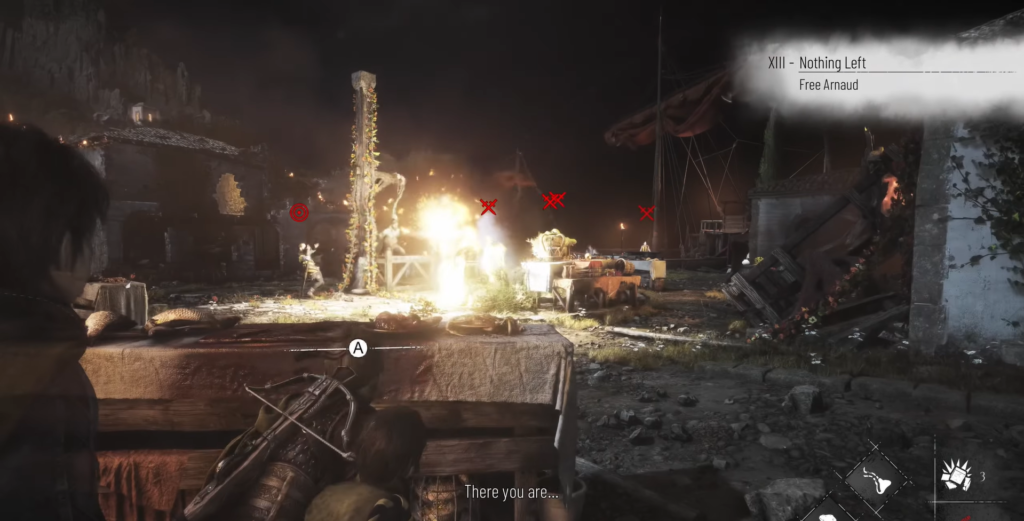
Drop down on the opposite side and use your Sling to destroy the tar pot positioned near the soldiers. Begin taking down the remaining soldiers by:
- Landing Sling headshots on unarmored enemies
- Striking throwables from enemies’ hands before they can launch them
- Utilizing tar pots, saltpeter bags, and copper tanks scattered throughout the area to distract or eliminate heavily armored guards
After defeating all enemies, approach Arnaud in the central area and attempt to release him. When reinforcement soldiers arrive, Hugo consumes them with a rat swarm.
Walk up to Hugo and interact with him, then free Arnaud from his restraints.
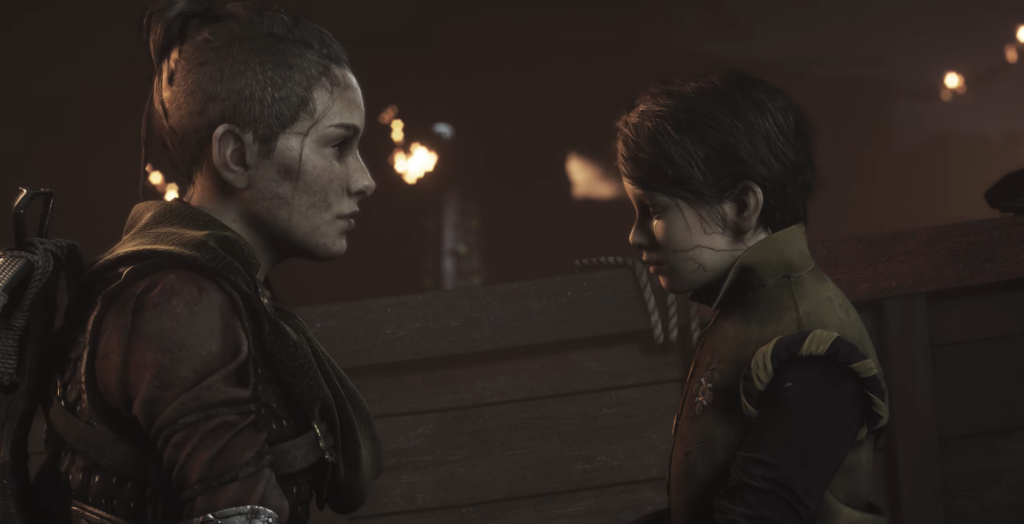
A brief cutscene shows everyone boarding Sophia’s ship as Amicia comforts Hugo about their mother’s loss, bringing the chapter to its conclusion.
Comments (0)
Sign In / Sign Up
Sign in with your Google account to leave a comment. It's fast, easy, and secure.
No comments yet
Be the first one to share your thoughts!