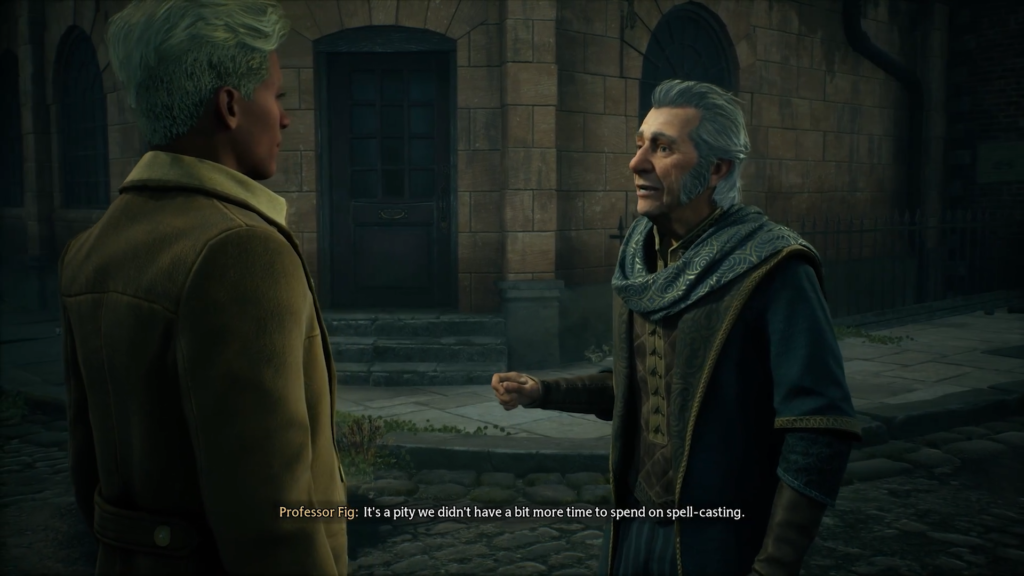
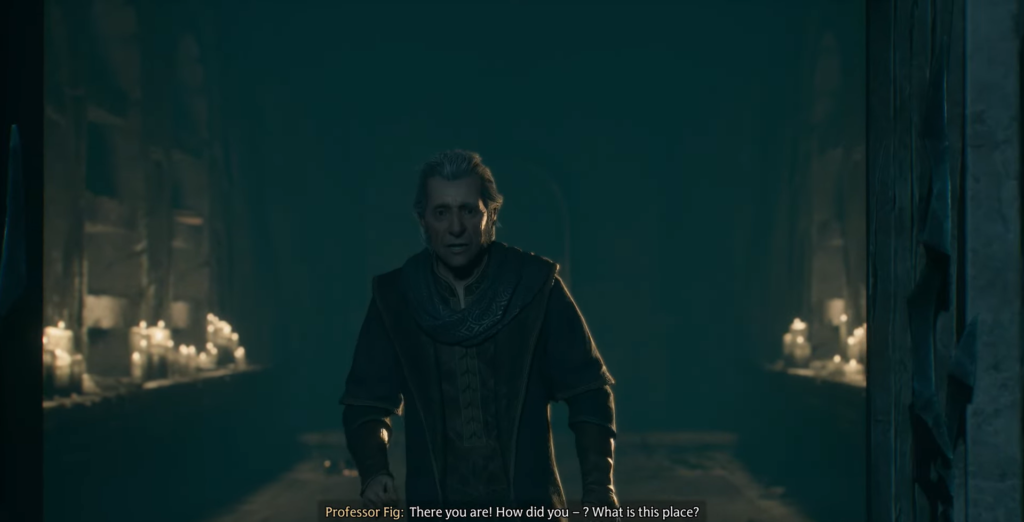
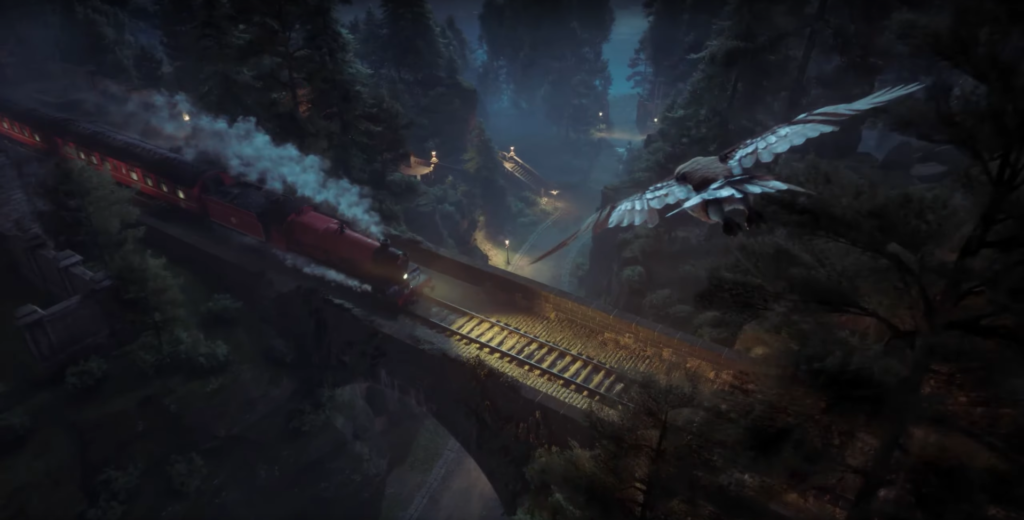
Your adventure begins immediately after you customize your character and select “Start Journey.” You will find yourself in conversation with Professor Fig, who is preparing for a trip to Hogwarts School of Witchcraft and Wizardry. The journey takes an unexpected turn when George Ozric from the Ministry of Magic arrives just in time to join your carriage ride.
During the flight, George shares disturbing news about a goblin uprising. He explains that Professor Fig’s late wife, Miriam, warned him about the leader of the uprising, Ranrock, before she died. She also left behind a mysterious container that holds secrets yet to be revealed.
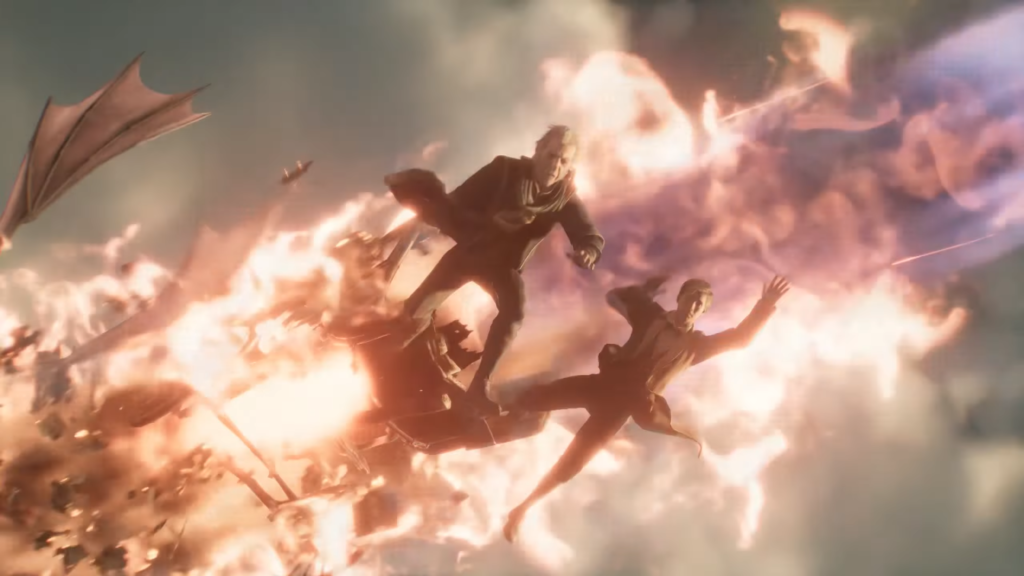
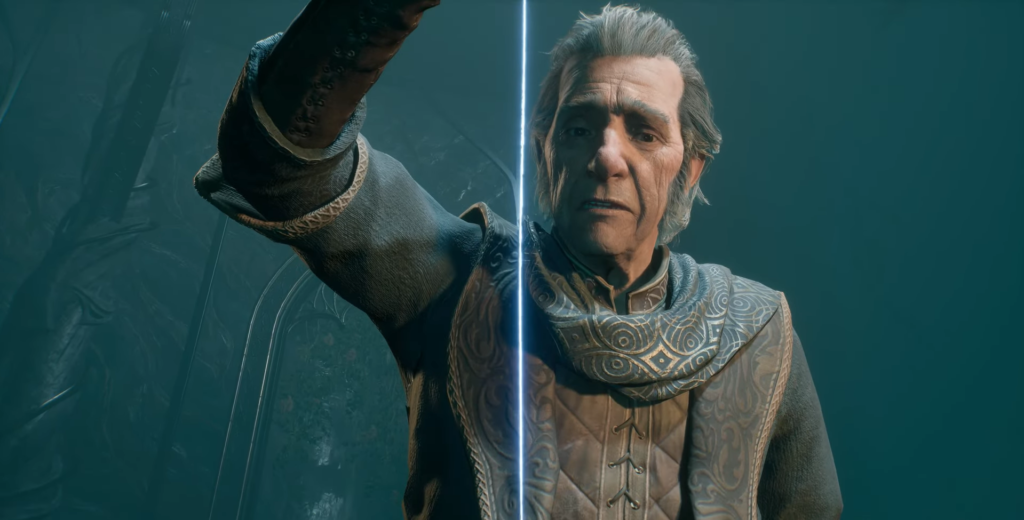
Dragon Attack
Your character notices something that others do not—a strange glow emanating from the container. Upon touching it, the object opens, revealing a portal. Before anyone can react to this discovery, disaster strikes. A dragon tears through the train car, instantly killing George.
To escape the dragon’s flames, you and Professor Fig make a desperate leap from the falling carriage. You grab hold of a portal in midair and successfully teleport to safety just as the dragon approaches.
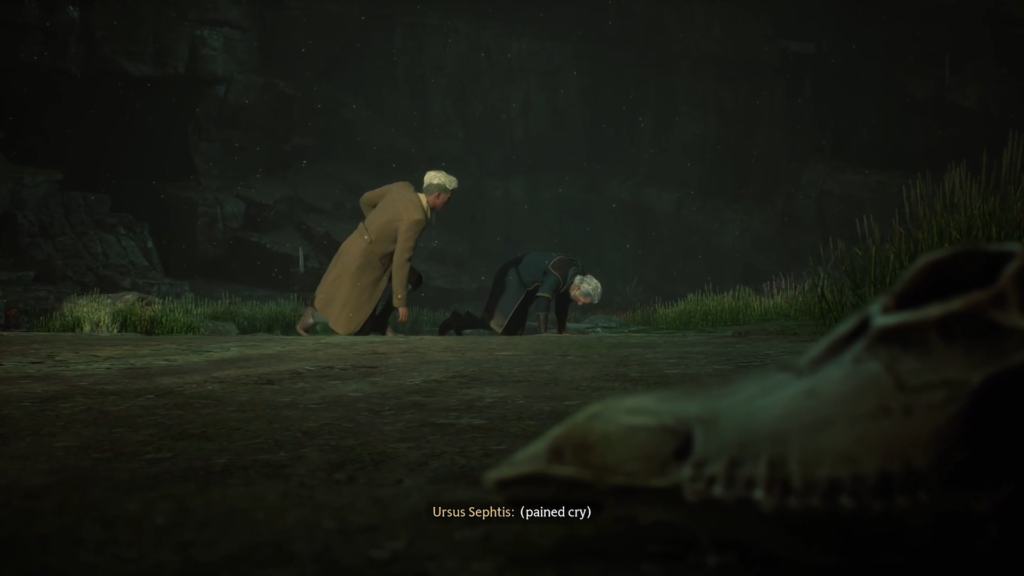
Exploring the Scottish Highlands
First steps in the cave
You land in a cave on the coast of Scotland. This serves as an introduction to the basic mechanics of the game:
Motion and navigation controls
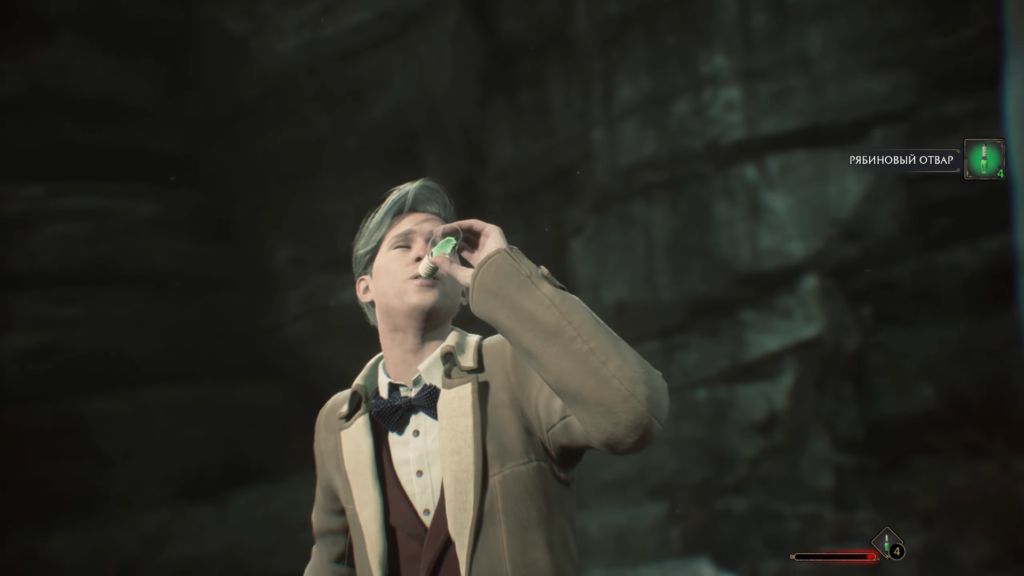
Using Wiggenveld Potions to Restore Health
Basic interaction with the environment
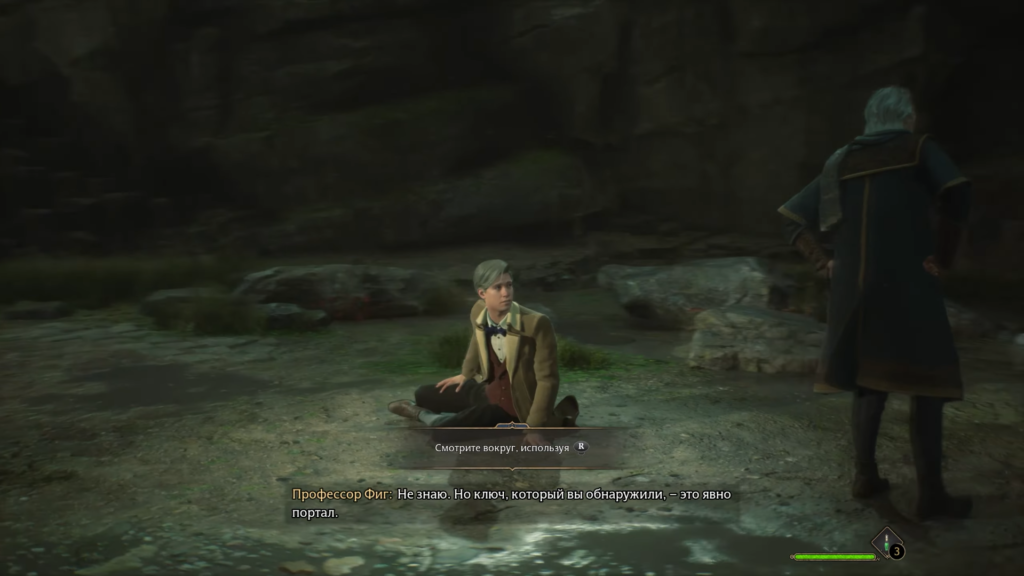
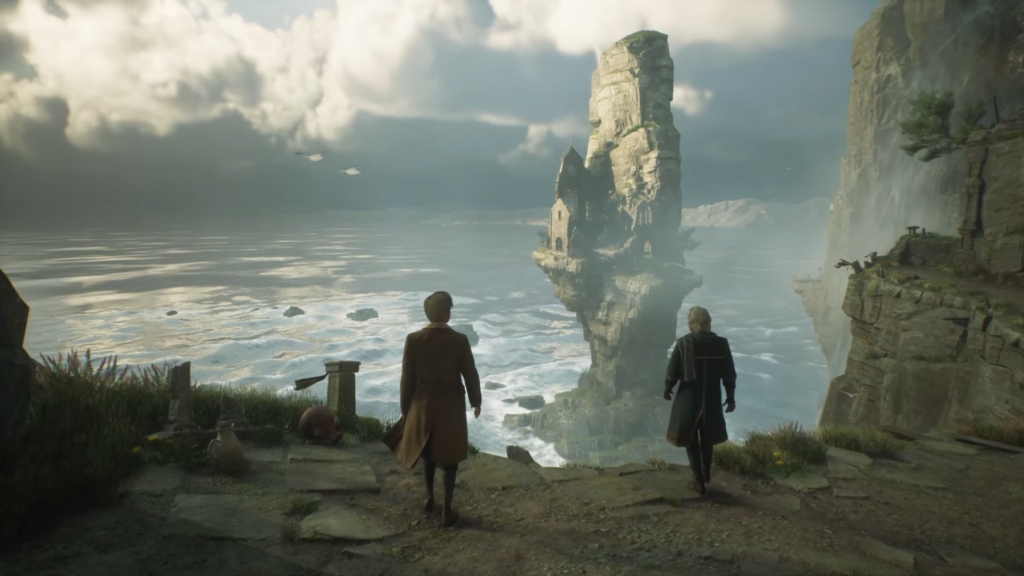
Leaving the cave with Professor Fig, you notice ancient ruins in the distance against the backdrop of the mountainous landscape.
Journey to the Ruins
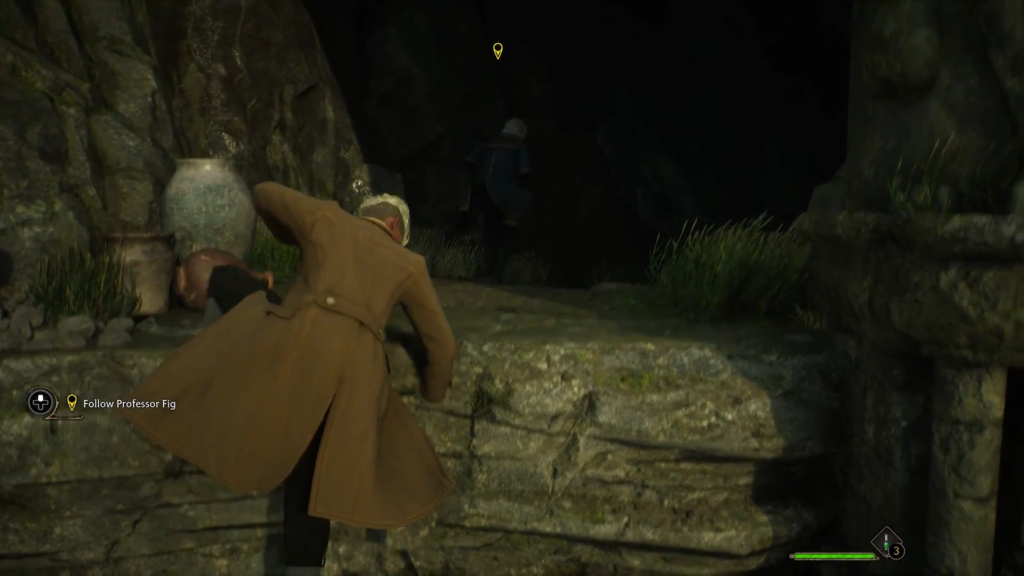
Follow Professor Fig along the rocky shore as he talks about ancient magic—a rare power that only a select few have possessed throughout history. The path requires you to overcome small ledges and obstacles.
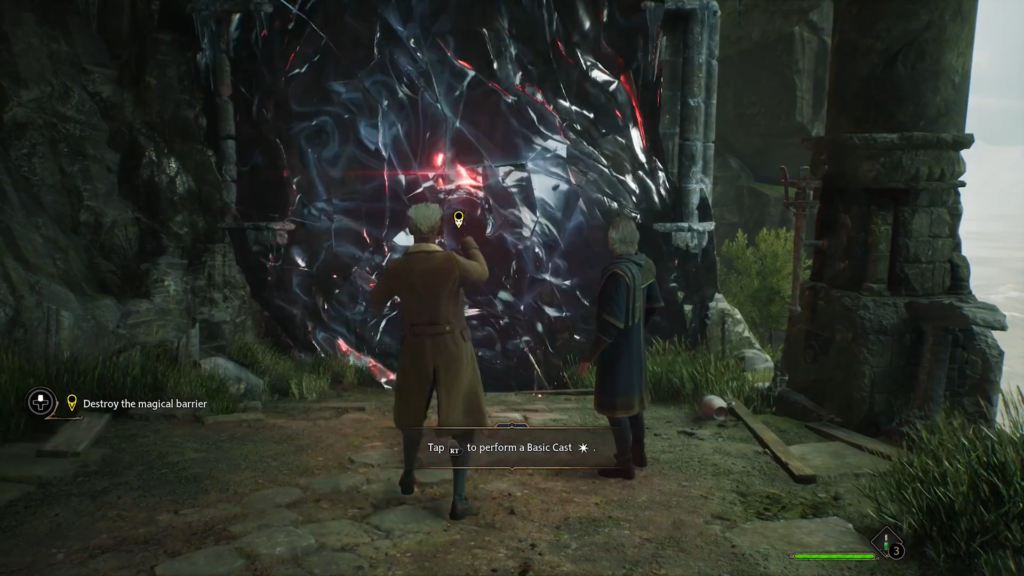
You encounter your first challenge: an enchanted stone wall blocking your path. Professor Fig asks you to use the “Basic Spell” three times to destroy the barrier. Once it is destroyed, you can continue on your way.
Helpful tip: Before following Professor Fig to the right, take a look in the corner on the left after descending the ramp. There you will find the first chest with a small amount of gold.
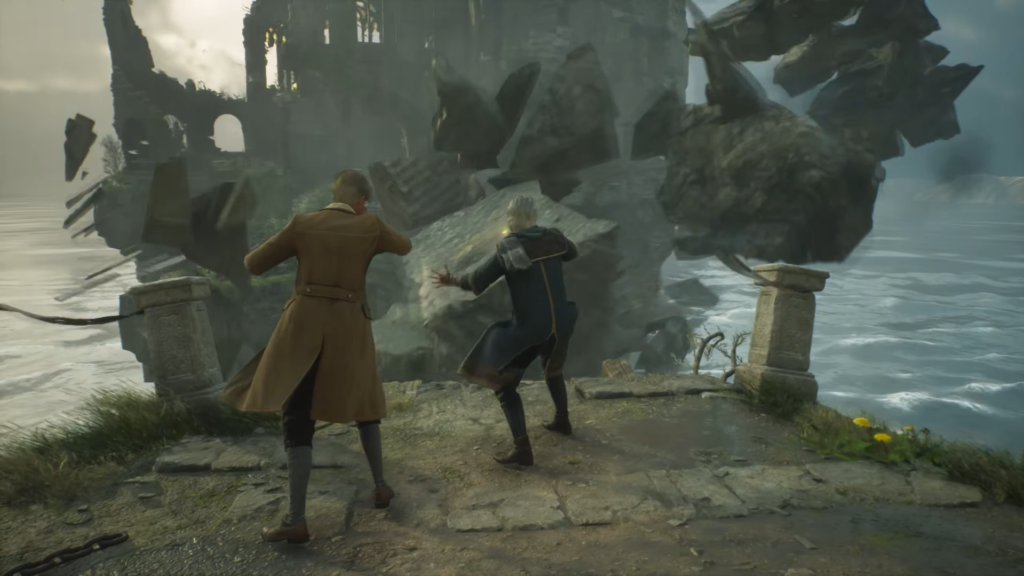
Continue jumping over obstacles and backtracking through the area. When you reach what appears to be a dead end, Professor Fig casts the “Reparo” spell to repair the broken passageway, opening access to the mysterious ruins.
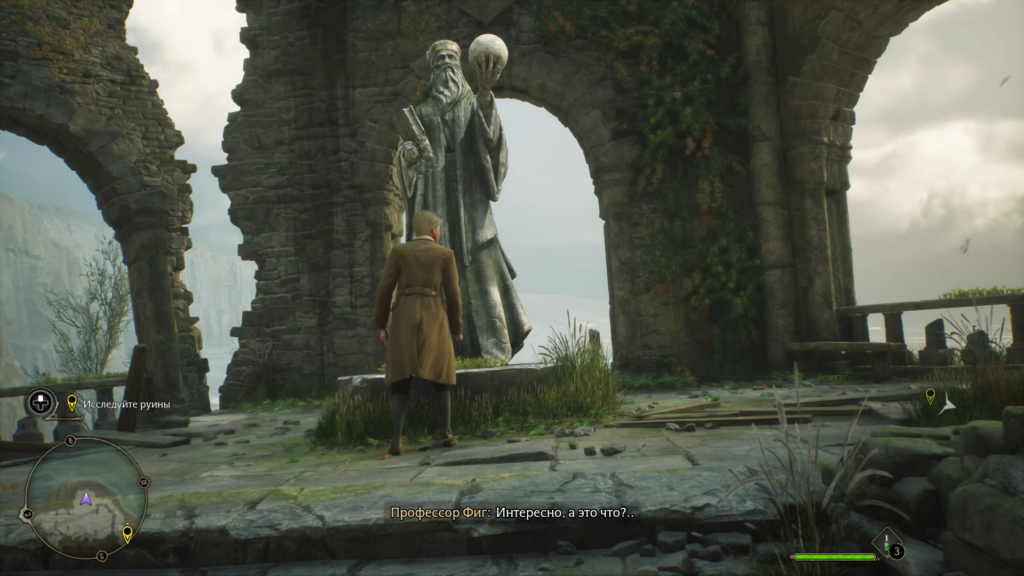
Inside ancient ruins
Initial investigation
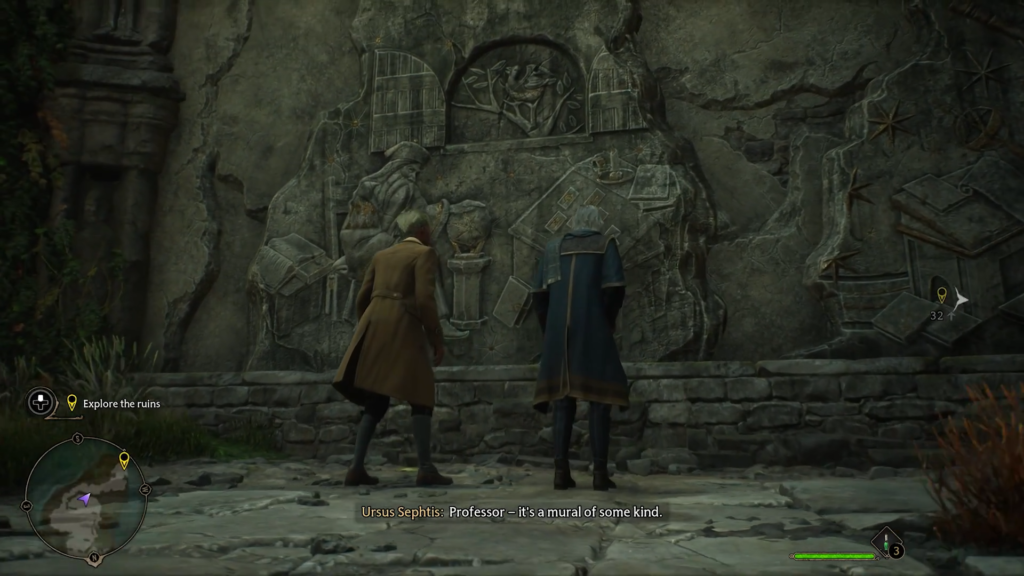
Once inside, examine the fresco directly in front of you. You will notice statues located around the perimeter of the room—one on the left and another piece of enchanted stone on the right.
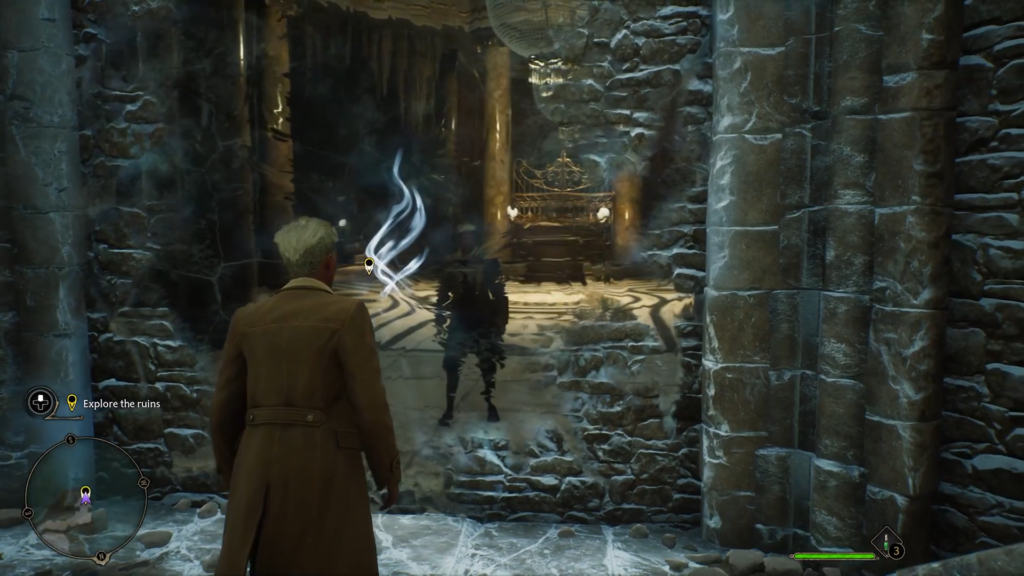
Walk around the outside of the building to reach the enchanted stone wall. Through it, you will see a room that Professor Fig cannot see. After a brief discussion of this strange phenomenon, interact with the glowing symbol to teleport yourself and Professor Fig into the hidden room.
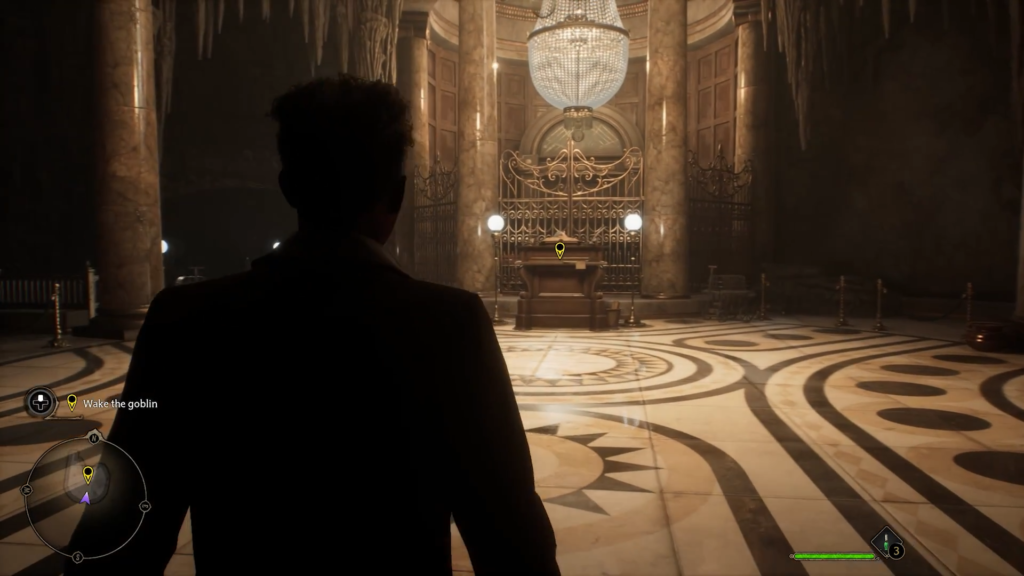
Gringotts Secret Vault
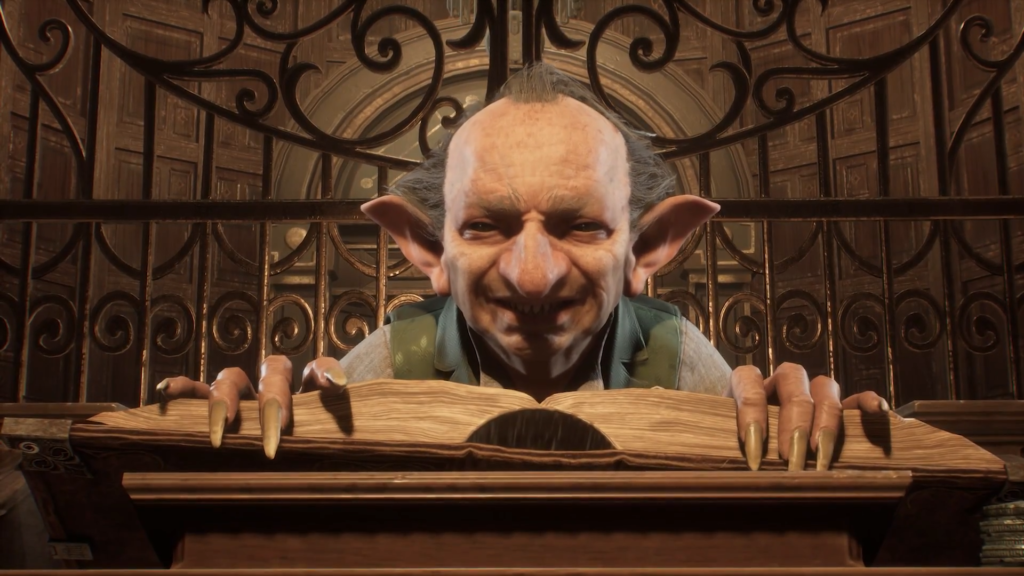
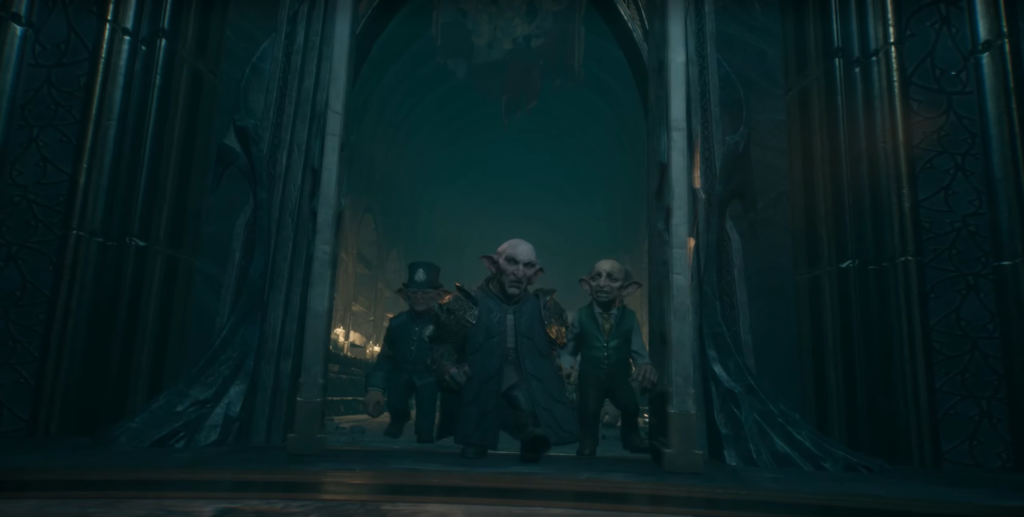
Meeting with the Goblin Guardian
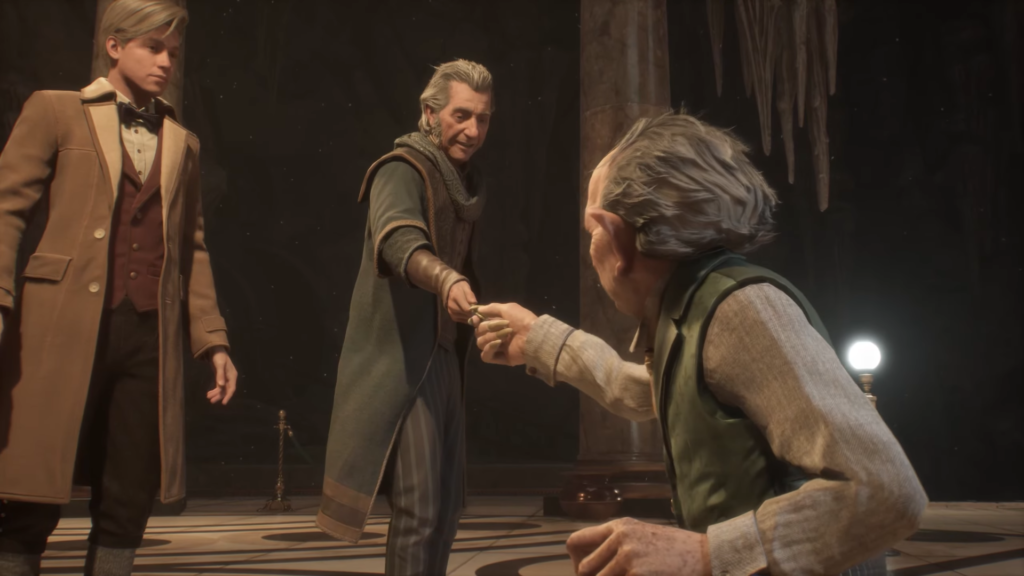
The spacious room turns out to be a private section of Gringotts Bank. Approach the table in front to wake up the sleeping goblin employee. Surprised by your appearance, he asks you to show him safe No. 12 and its key — the Miriam portal.
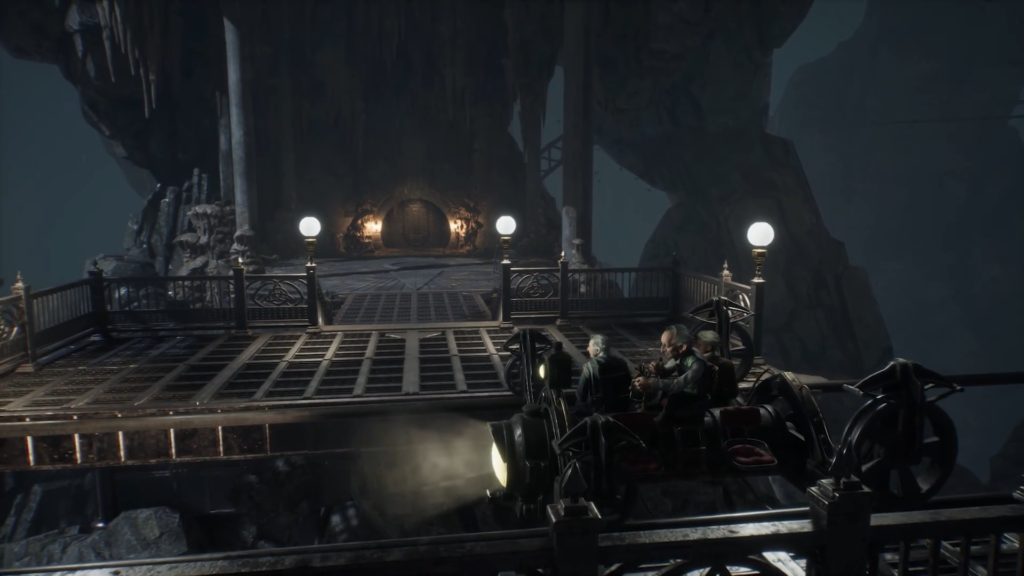
You board a cart that descends deep into the bank’s foundations. Vault 12 is one of the oldest in Gringotts’ history. Passing a suspicious-looking goblin guard, you finally arrive at your destination.
Study of “Revelio”
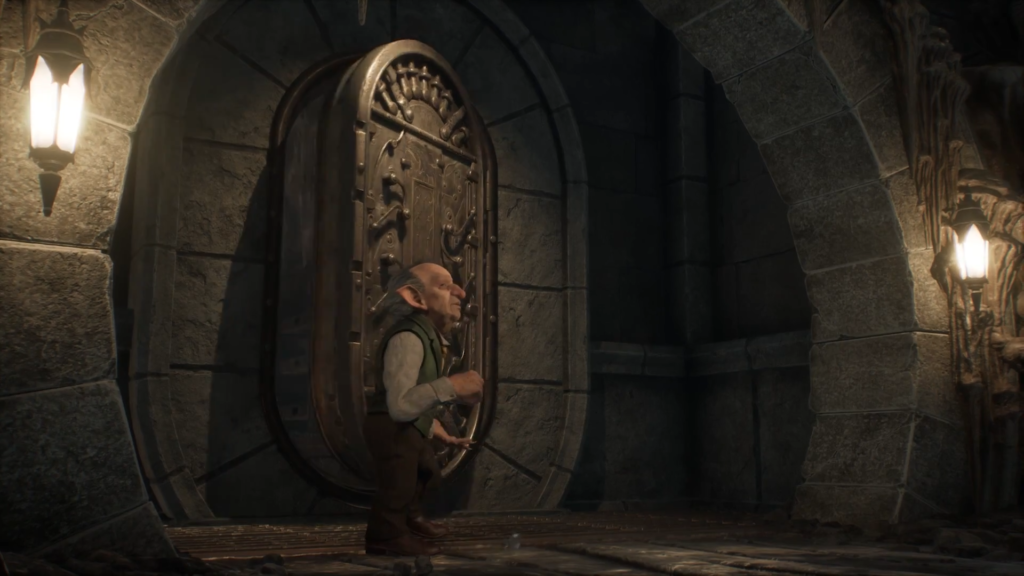
Go straight to the vault door to see a short scene in which it opens. Before entering, find a small chest to the right of the entrance.
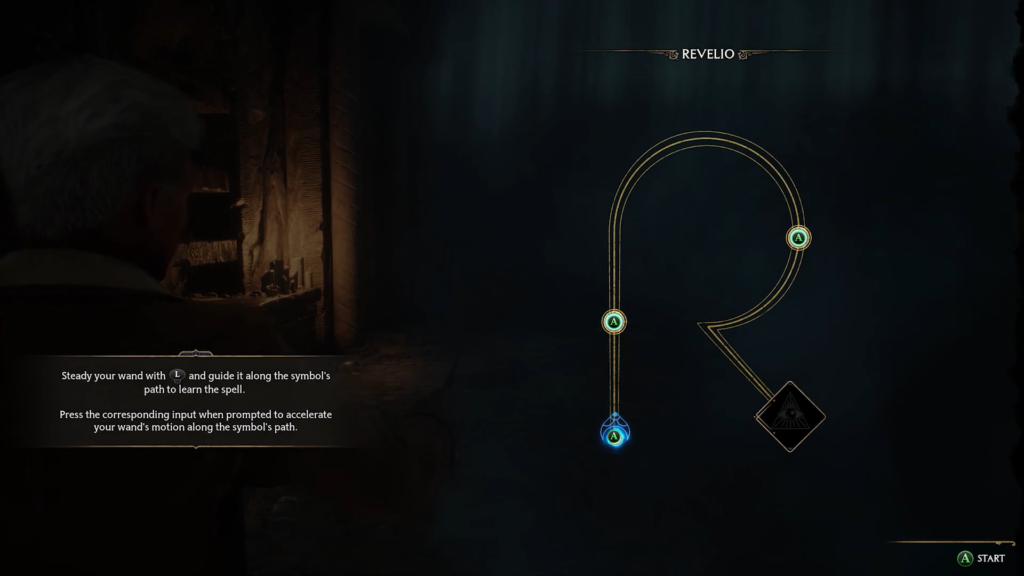
Once inside, the goblin closes the vault door behind you. To find your way forward, Professor Fig teaches you Revelio, your first important spell.
The spell includes a mini-game in which you:
Hover your cursor over the lines forming the letter “R.”
Press the buttons as they appear.
Keep moving to avoid the red tint that follows your blue magic
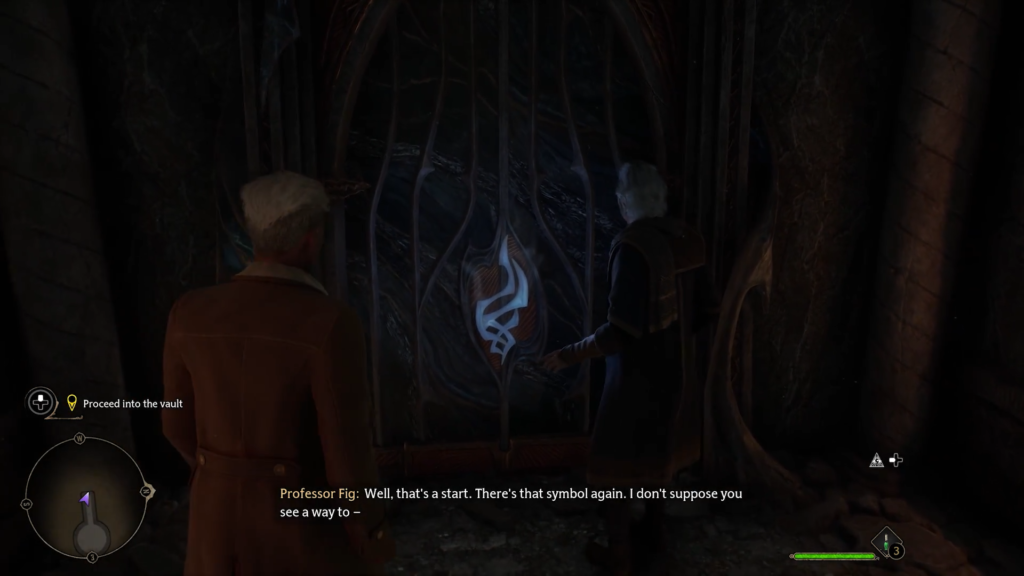
After successfully completing the pattern, cast the Revelio spell. Move closer to the far end of the corridor and cast the spell again to open the hidden door.
Delving deeper into the topic
Cave chamber
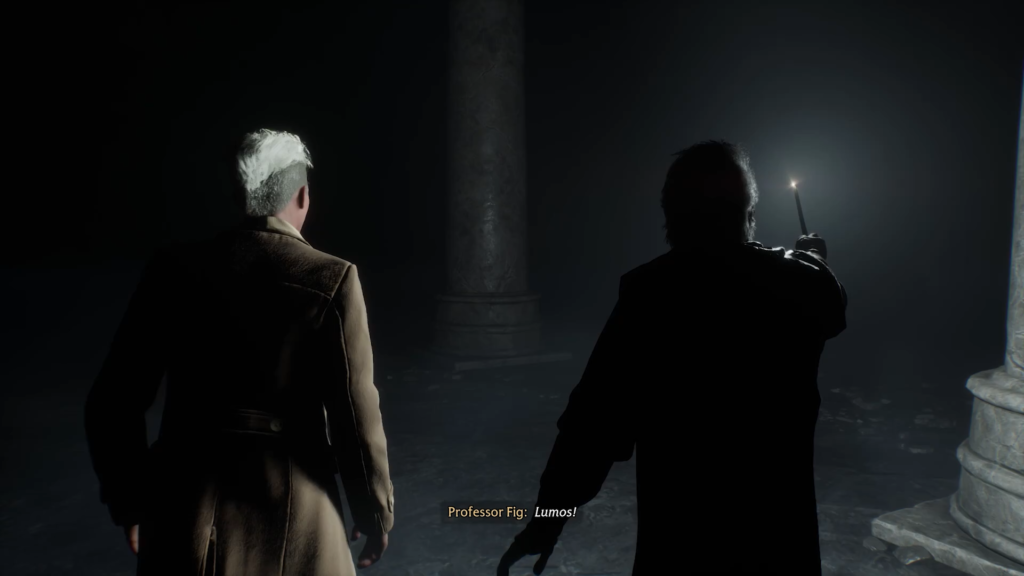
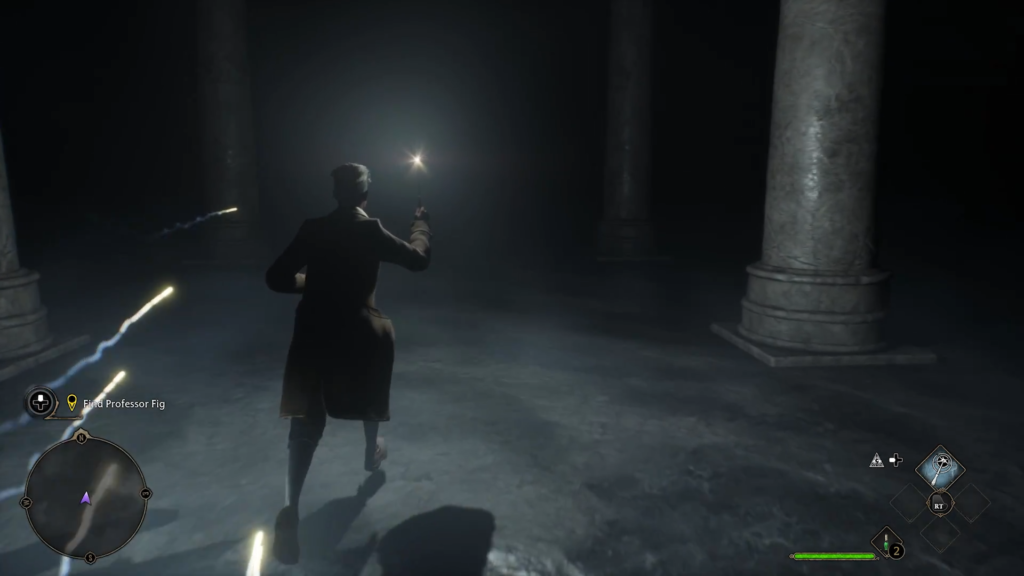
Interacting with the hidden door triggers another teleportation, this time into a dark, cavernous space. Stay close to Professor Fig while he illuminates the area with “Lumos.” Soon, you will discover another glowing symbol embedded in the floor.
Mastering “Lumos”
When you interact with the gender symbol, the ground turns into an enchanted stone, revealing the reflection of the statue beneath it. Cast the Revelio spell near the reflection to materialize the statue itself.
Professor Fig decides that you need to learn the Lumos spell to solve this puzzle. Complete another spell mini-game, this time drawing an upside-down V to learn the spell that creates light.
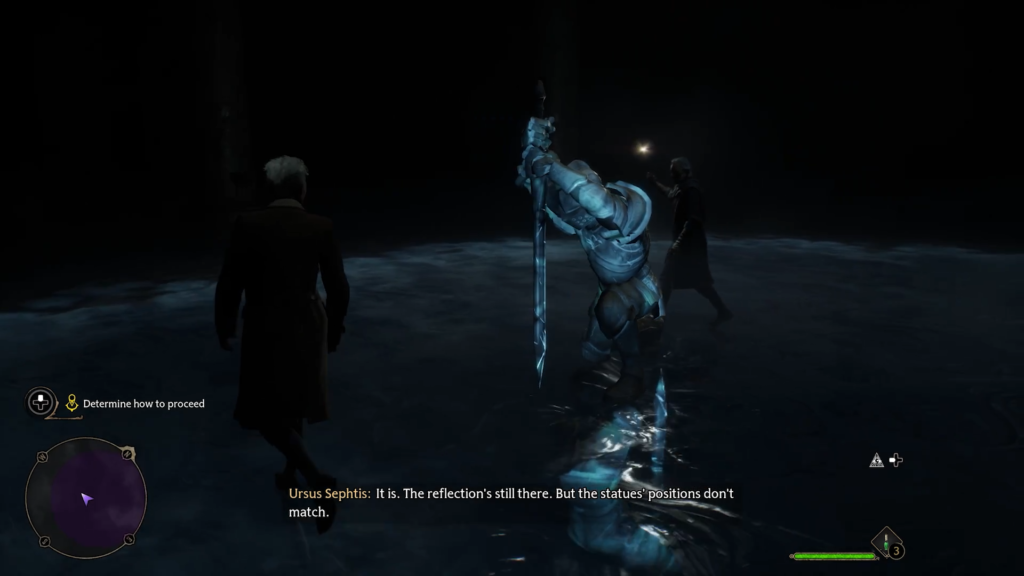
The first riddle with the statue
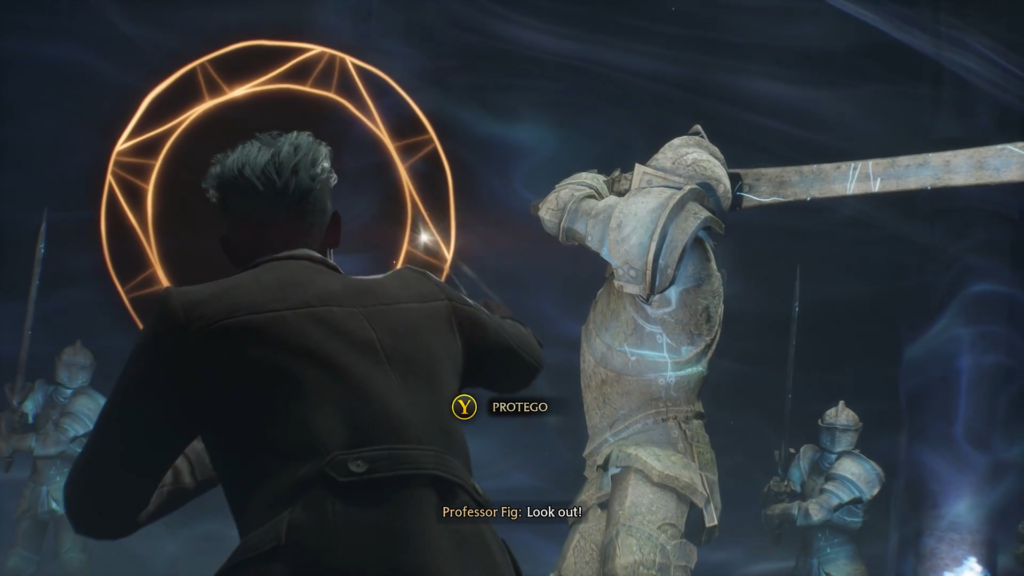
Cast the “Lumos” spell and position the reflection of the statue so that it perfectly matches the real statue. This will cause it to rise and summon additional statues, which will immediately begin to attack.
When the statue begins to attack you, quickly cast the “Protego” spell to protect yourself. You will need to successfully block three attacks, each of which will be indicated by an orange glow around your character’s head.
After blocking these attacks, use the “Basic Attack” spell to destroy the remaining statues. Professor Fig will disappear, and you will be surrounded by darkness. Use the “Lumos” spell and follow the glowing lights to find another floor symbol.
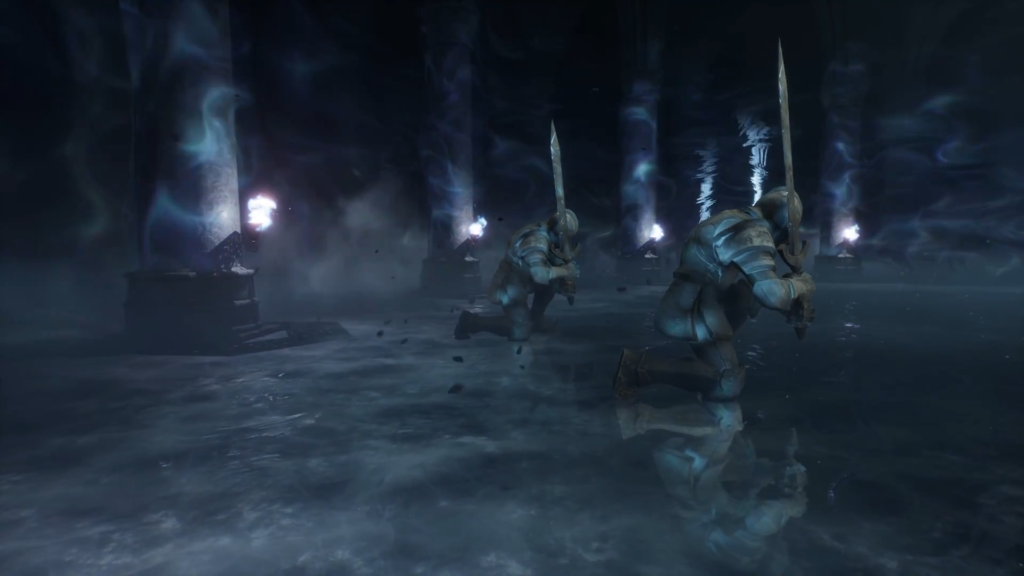
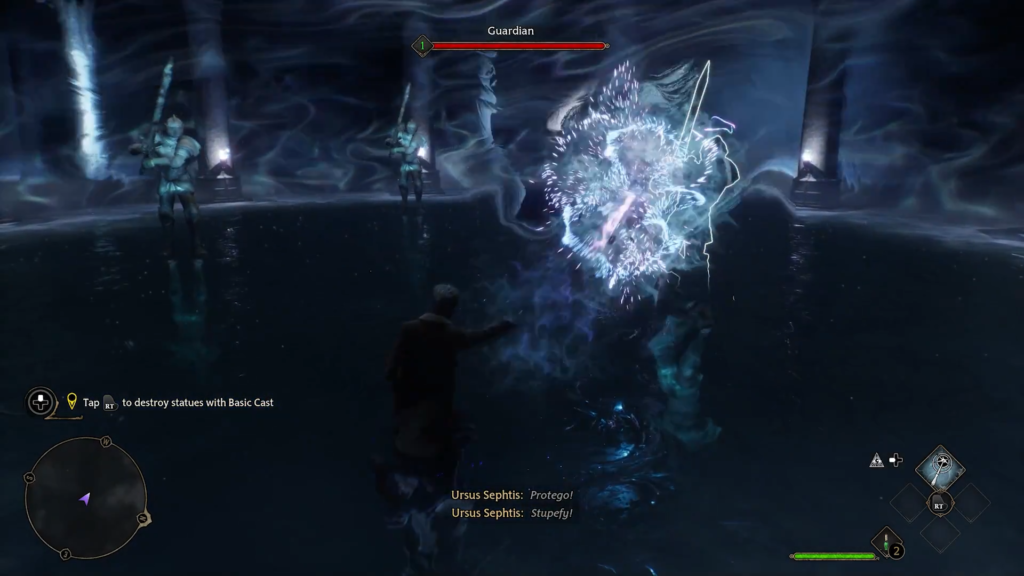
The second riddle with the statue
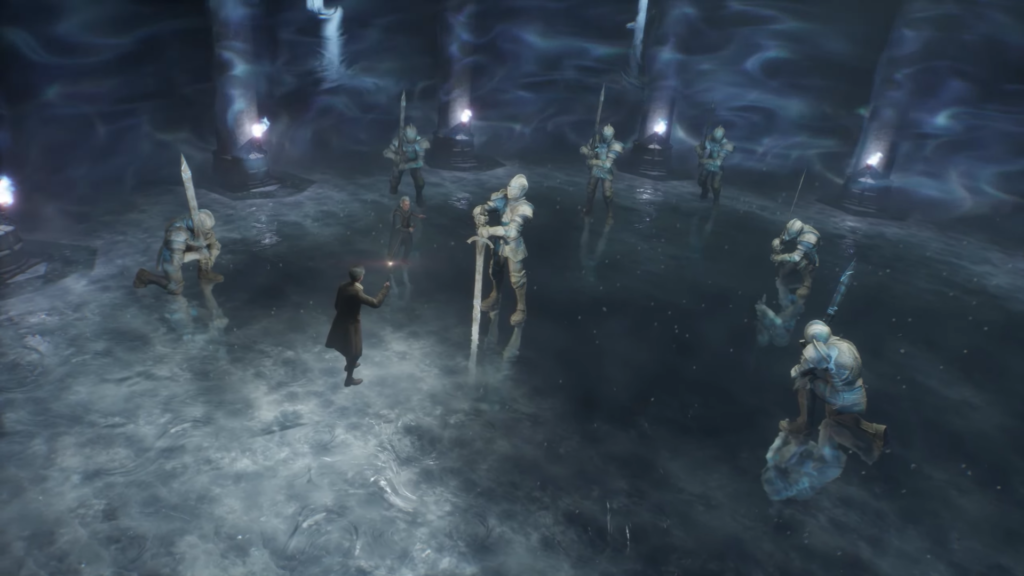
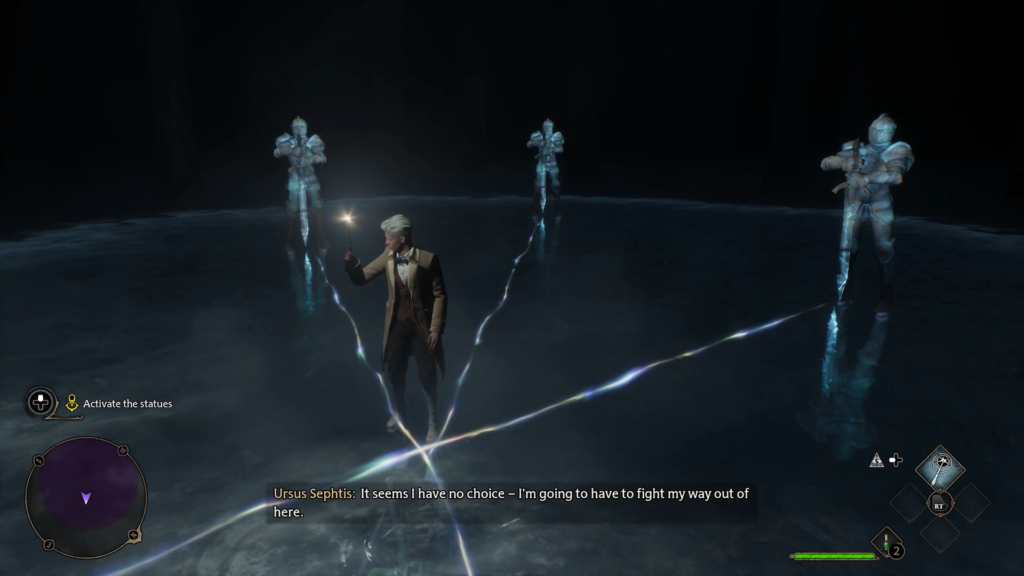
To activate this symbol on the floor, you must cast the spell “Revelio” to reveal three statues and their corresponding reflections. Your task is to find the exact spot on the floor where all three statues coincide with their reflections when you cast the spell “Lumos.”
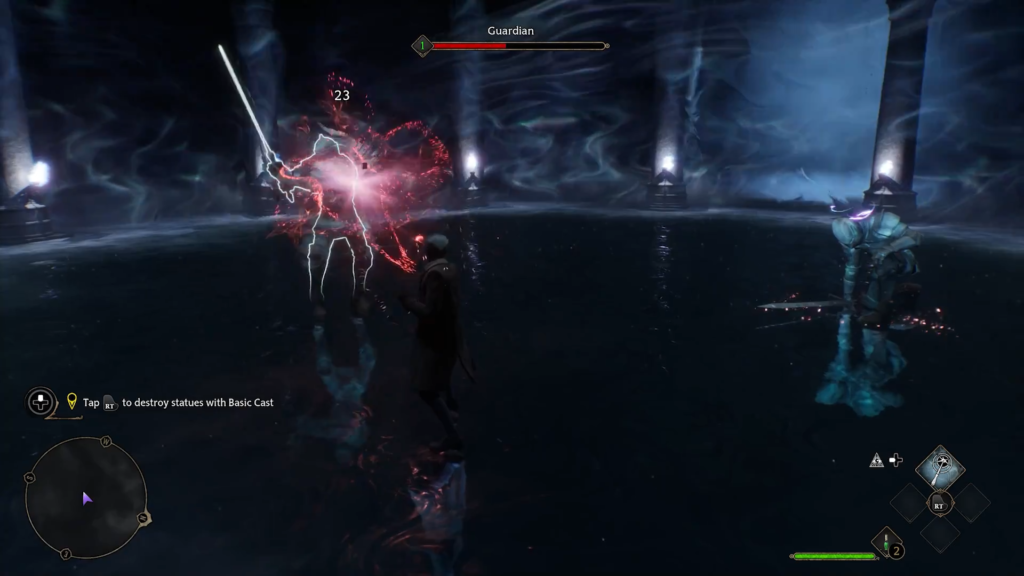
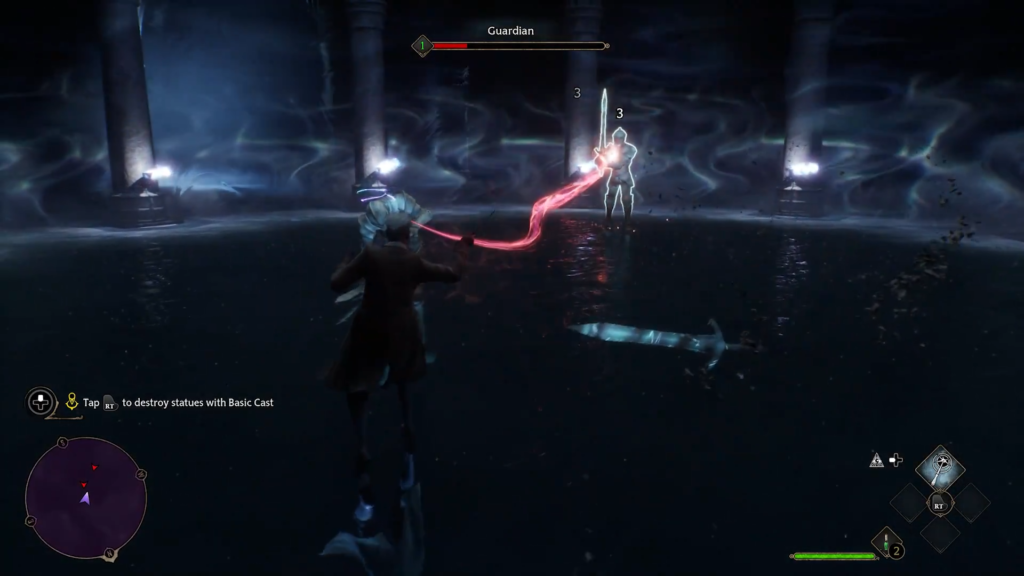
After succeeding, you must defeat all three statues using your combat skills:
Use “Basic Attack” to deal damage
Block attacks with “Protego”
Hold “Protego” to perform “Stun” counterattacks when blocking successfully
Stunned enemies take increased damage
Perform three Stun counterattacks and destroy the remaining statues to advance.
Reunion with Professor Fig
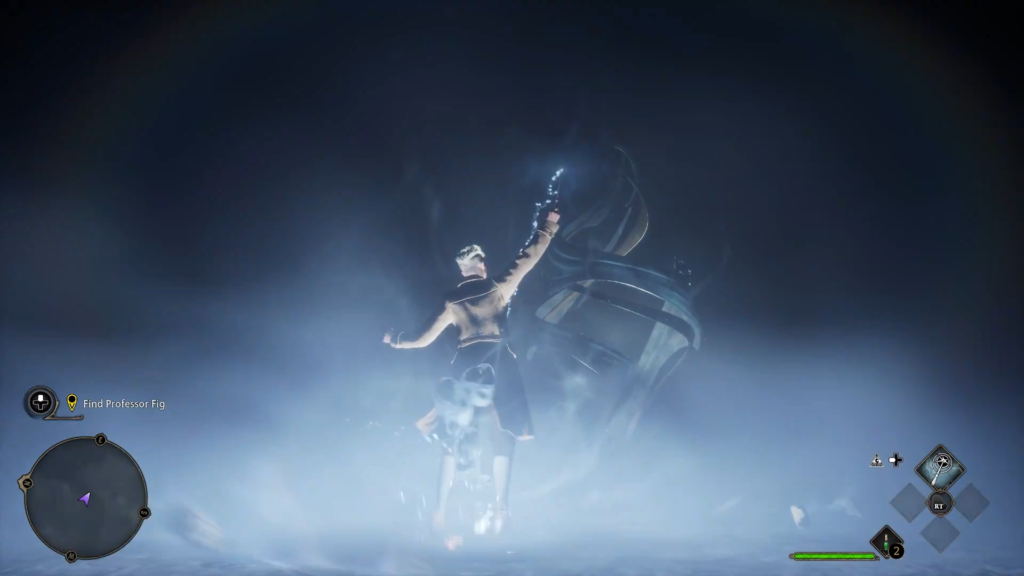
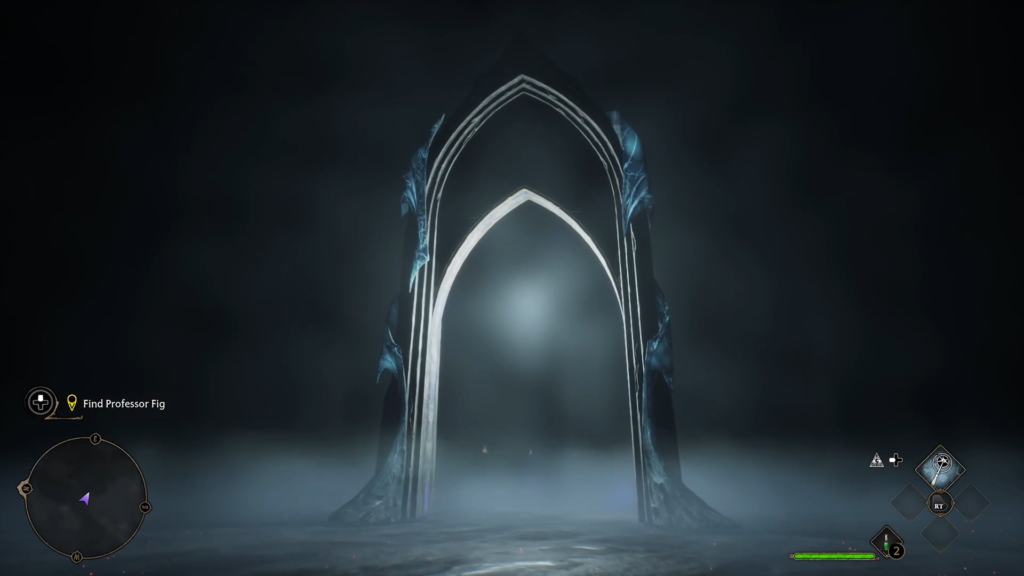
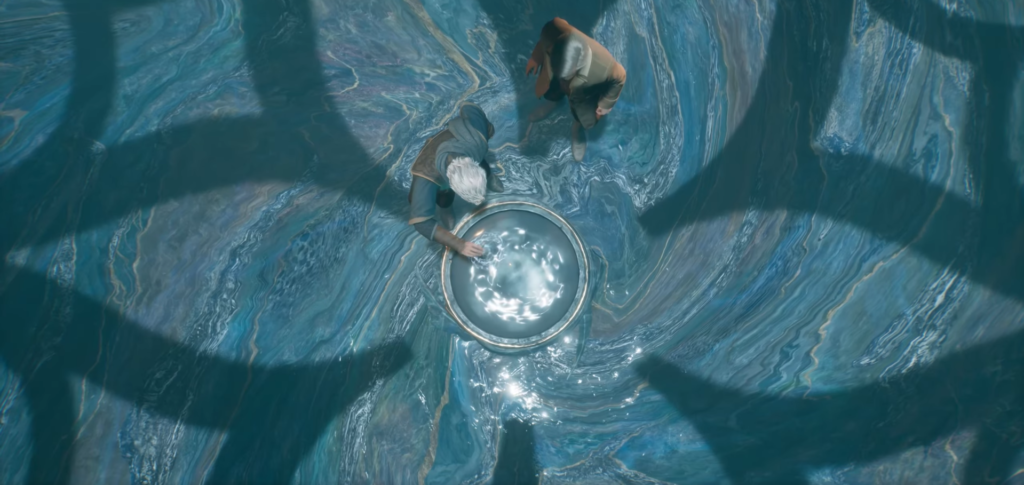
Follow the glowing threads using “Lumos” to reach a large statue with a familiar symbol. Interact with the magical energy on the ground to open an arch-shaped portal.
Go through the portal and approach the Lake of Memory in the center of the room. By interacting with it, you can retrieve the floating container and reunite with Professor Fig.
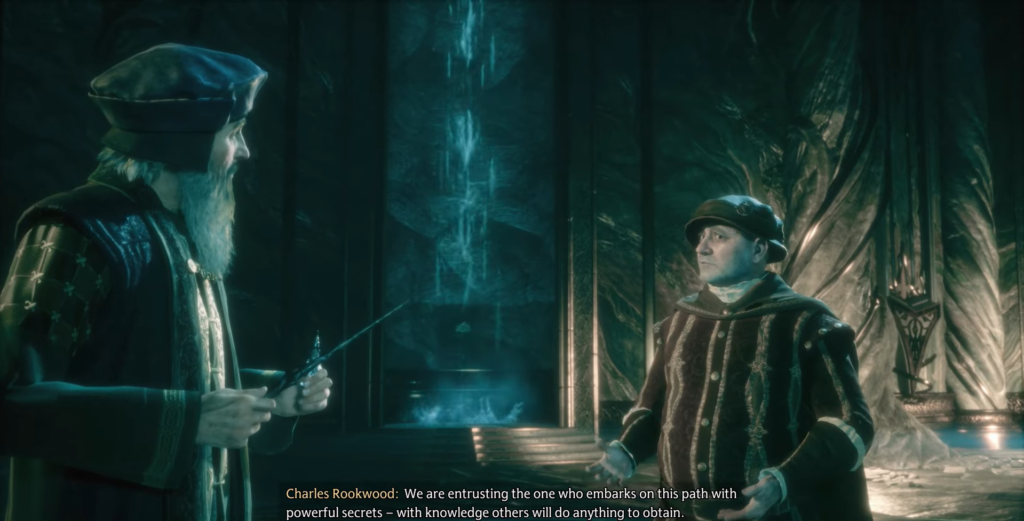
Memory
Together, you witness a memory in the Lake of Memory. It shows Percival Reachem and Charles Rookwood discussing an ancient power that will be acquired and mastered by a future wizard or witch.
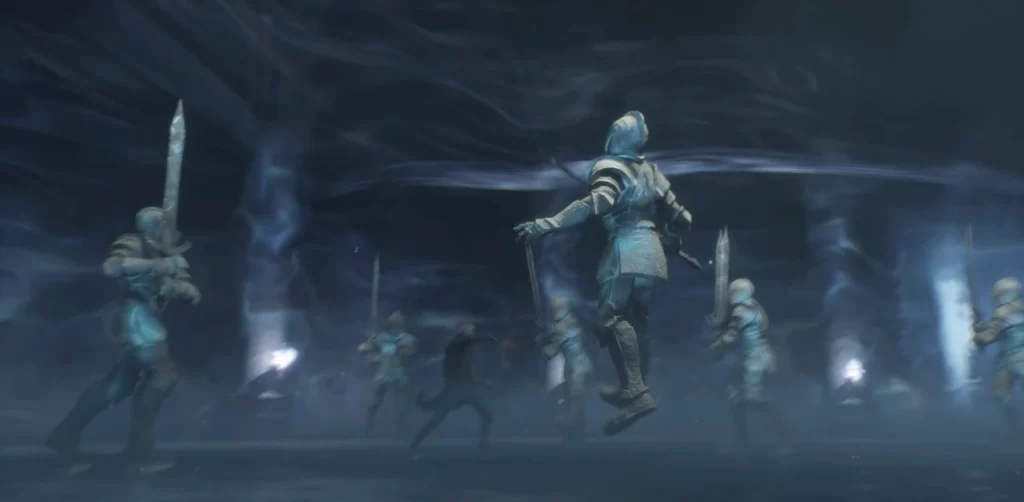
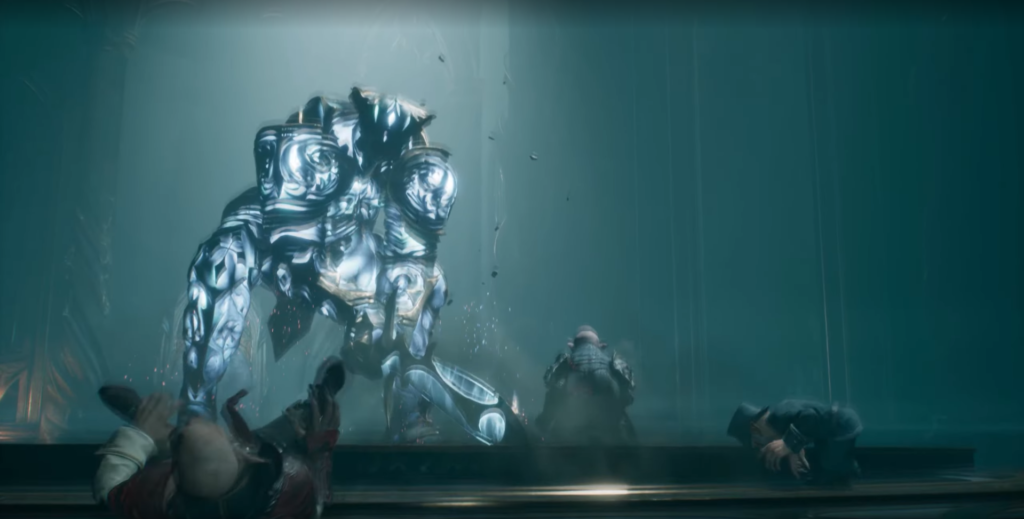
The Final Battle
When you emerge from your memories, Ranrock and his troops storm the vault, demanding to know what you have discovered. Professor Fig refuses to cooperate, leading to a magical battle that activates the vault’s ancient defense system.
A huge statue rises from the ground, engaging in battle with Ranrock and his goblins. While the defenders are busy fighting, you and Professor Fig escape through another portal, ending up in a forest near Hogwarts.
Agreeing that this is exactly where you are meant to be, you both head to the school for the Sorting Ceremony, completing your first task in Hogwarts Legacy.
Comments (0)
Sign In / Sign Up
Sign in with your Google account to leave a comment. It's fast, easy, and secure.


Comments (0)
Sign In / Sign Up
Sign in with your Google account to leave a comment. It's fast, easy, and secure.
No comments yet
Be the first one to share your thoughts!