
General information about the task
The Hogwarts Legacy story mission will take you to an abandoned mine that has become a stronghold for Ranrock’s loyalists. Your goal is to retrieve the second part of the triptych hidden deep within the dungeon.
Meeting with Sebastian

Head to the observation deck located northeast of Upper Hogsfield. Sebastian will be waiting for you there. He will explain that this is the place depicted in the triptych and tell you about the Smotrova Mine, which has been captured by Ranrock’s henchmen.
Choosing a penetration tactic:
| Approach | Features |
|---|---|
| Stealth | Use the Disillumination spell for invisibility |
| Aggressive | Open confrontation with opponents |
| Circumvent | Avoid combat by sneaking past enemies |

Go down the hill—there are two loyalist camps ahead. Get past them any way you can and make your way to the mine entrance.
Research on the Smotrovaya Mine
Initial section
Inside, eliminate the two loyalists by the cliff, then follow the path to the left. You will have to jump over gaps, climb ledges, and slide down slopes.
After descending, you will find yourself in a room with three loyalist goblins — combat is inevitable.
First Collectible Chest
After defeating your enemies, take a look at the eastern part of the room. A small room hides a collection chest with a recipe for enchanting.
Next, cast Wingardium Leviosa on the box by the west wall—lift it up to climb to the upper tier. Turn left and slide down the second slope.
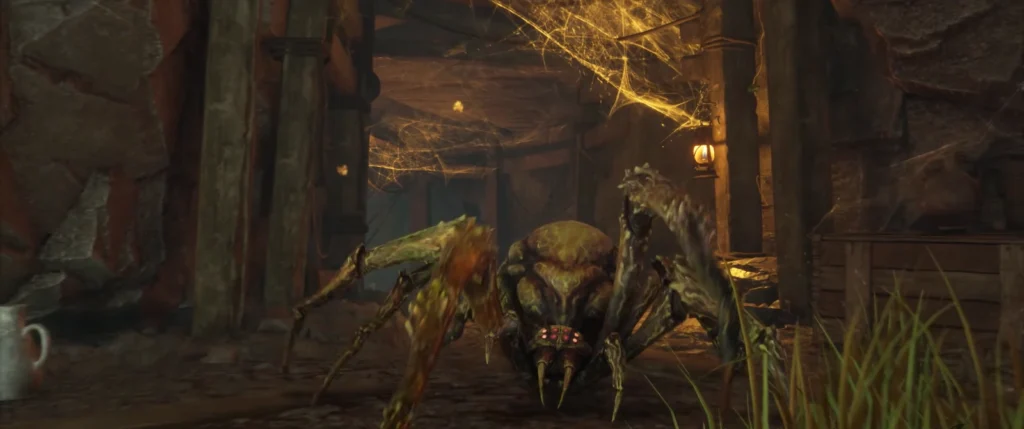
Spider’s Lair

At the bottom, climb up the ledge on the left and repair the destroyed bridge with the Reparo spell. On the opposite side, you will be attacked by three spike-backed scourges. After dealing with them, continue on your way and squeeze through the narrow passage on the left — another spider awaits you there.

Second Collectible Chest
In this passage, turn east. Use Lumos to remove the Devil’s Snares from the walls and pass unharmed. Then turn south and crawl through the low opening—there is a second collectible chest in the room by the fire.
The main battle


The next passage will lead you to a spacious battle arena. Prepare for a serious fight:
- Numerous loyalists
- Spiny-backed spiders
- Two spider matriarchs
After winning, destroy the web with Confringo or Incendio spells. Pay attention to the three runic symbols: one next to the locked door, the second slightly above and to the left, and the third further to the right. Quickly hit all three with a basic spell to open the passage.

The Secret Room
Go down the stairs to a small chamber. Here you will find:
- The second part of the triptych — in the chest
- Isidora’s diary — on the table in the center
Talk to Sebastian about your plans. Use the enchanted stone reflection in this room to instantly teleport to the Secret Hideout.
Return to the Secret Hideout

Go to the triptych on the wall and place the fragment you found there. After talking to Sebastian, he will recognize the place depicted, but warn you about the dangers that await you there. Mentioning your plans with Lodgok will cause him to become upset, and Sebastian will abruptly ask you to leave.
This concludes the quest.
Comments (0)
Sign In / Sign Up
Sign in with your Google account to leave a comment. It's fast, easy, and secure.
No comments yet
Be the first one to share your thoughts!